Setting up GitHub OAuth 2.0
OAuth 2.0 is an Enterprise FeatureContact [email protected] if you are interested!
1. Getting Config from GitHub
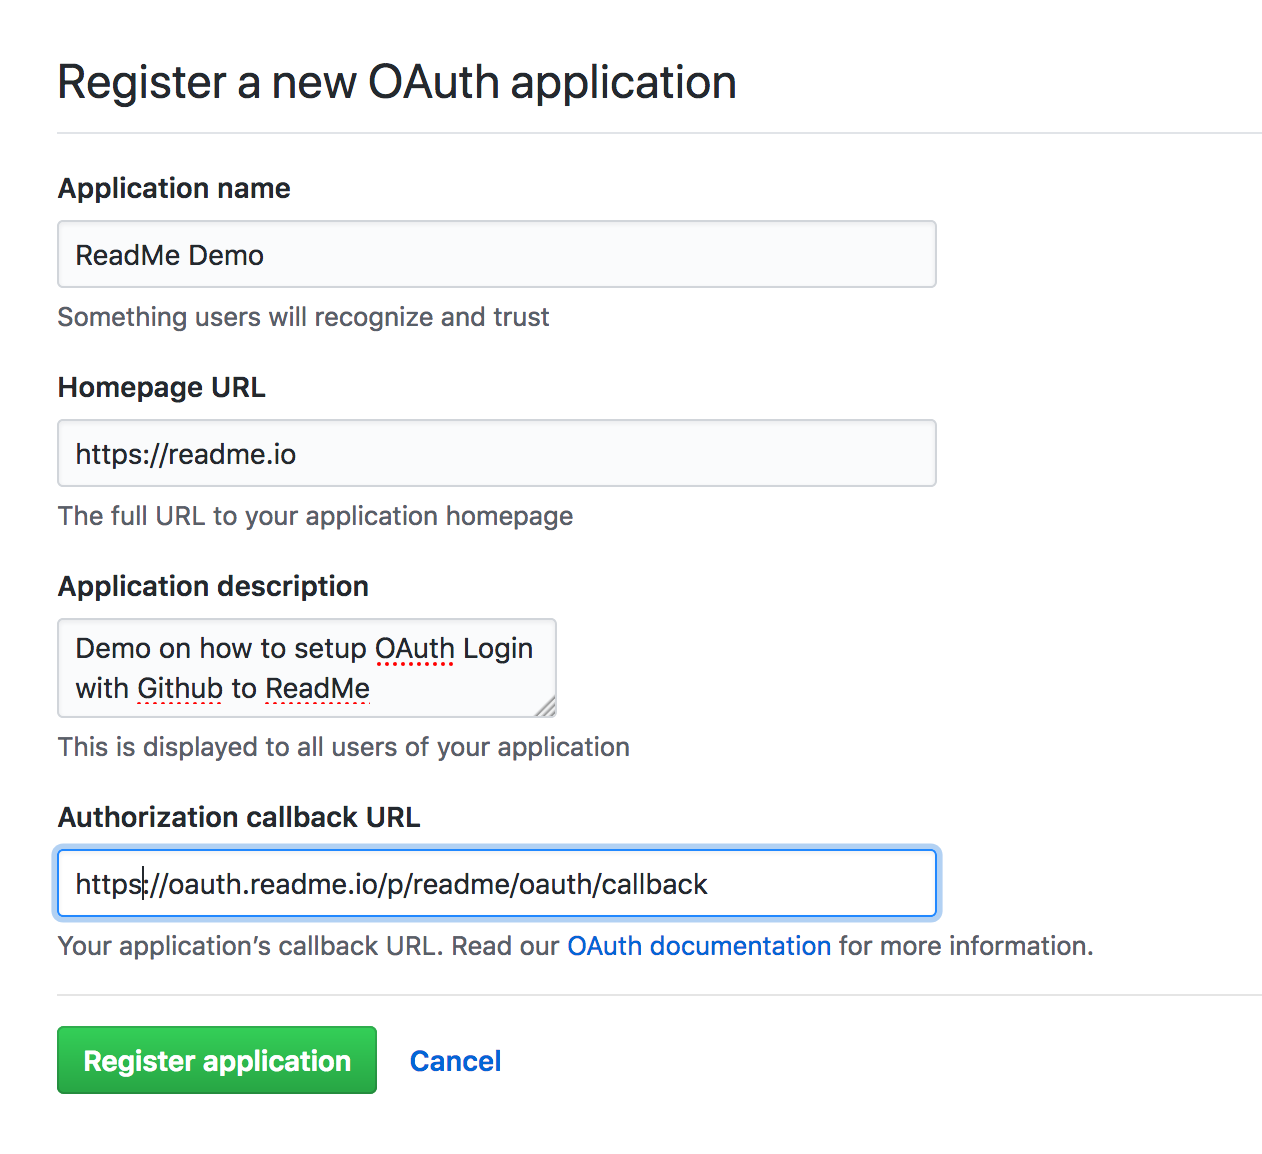
You will need to setup an OAuth App within GitHub so you can properly authenticate with their OAuth server. You can create apps on your GitHub Account by visiting https://github.com/settings/developers.

After you click "New Oauth App", fill out the form with your information. Make sure that the callback url is <http://oauth.readme.io/p/YOUR_PROJECT_SUBDOMAIN/oauth/callback>, with your project subdomain replaced in the path of the url.
2. Give ReadMe Client ID and Client Secret

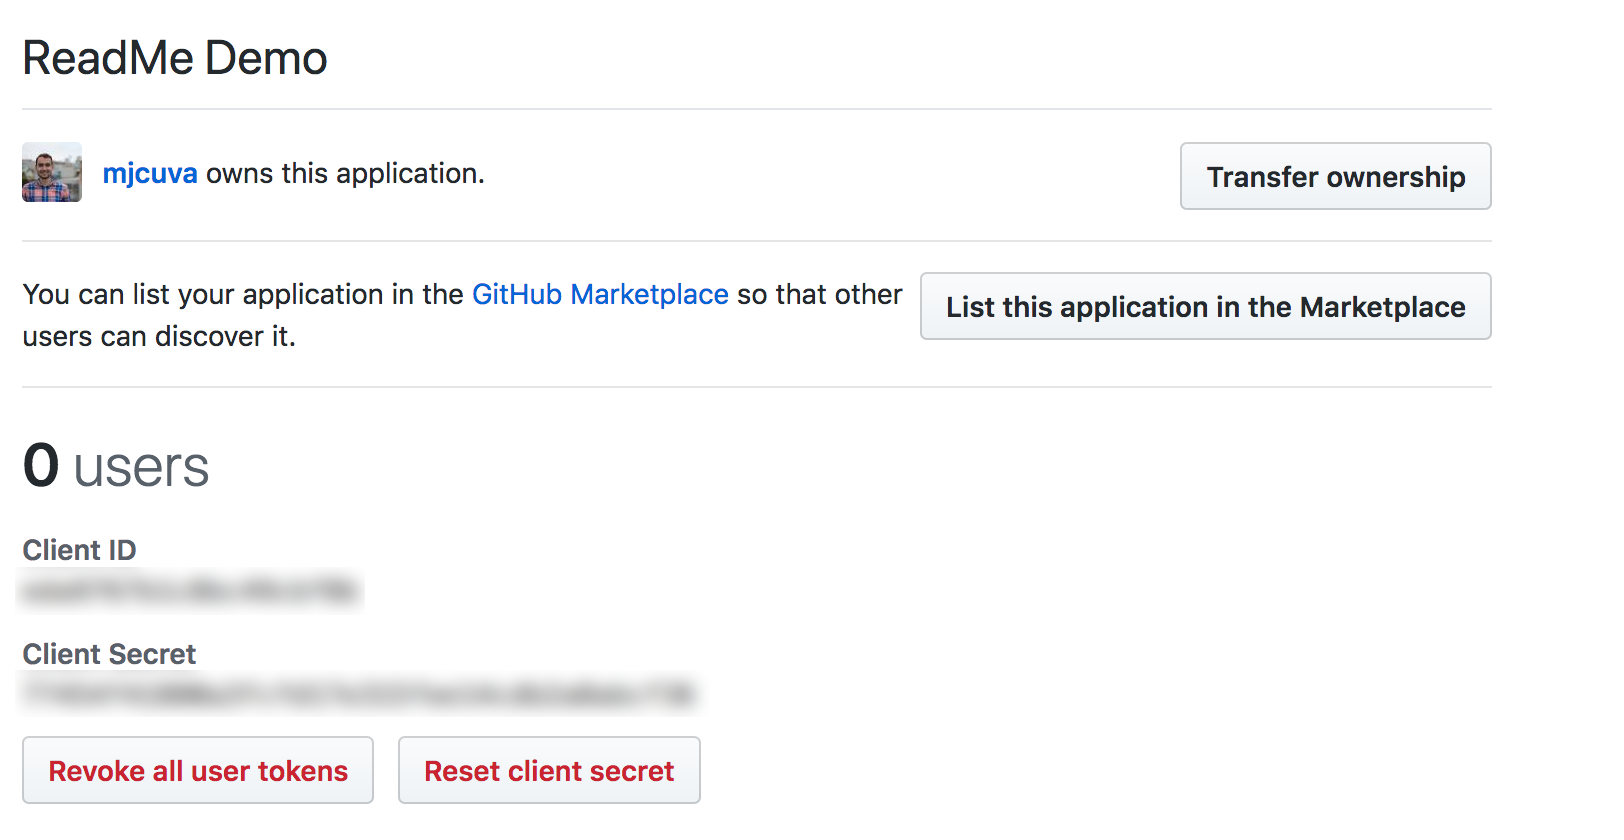
After you have created your OAuth App, you will see a two important values, the Client ID and Client Secret. Navigate to User Controls->Oauth Login in your ReadMe dashboard, and enter the following values into the Config section:
exports.config = {
  clientID: 'CLIENT_ID',
  clientSecret: 'CLIENT_SECRET',
  authorizationPath: 'https://github.com/login/oauth/authorize',
  tokenPath: 'https://github.com/login/oauth/access_token',
  profilePath: 'https://api.github.com/user',
  scope: '',
};
4. Modify User Object
Beneath the config section is a callback that passes a user object to ReadMe. This is the user that will be logged in after they successfully complete the OAuth flow. Since the GitHub user api doesn't have user.project_name, we will need to change this to something else. We can just use their name again:
// At this point the user has been authenticated and body contains
// the info your server returned about them.
// Return the user info you want to pass to readme
exports.loginCallback = function(body, accessToken) {
  // See https://readme.readme.io/v2.0/docs/passing-data-to-jwt for more specific info about the format
  return {
    email: body.email,
    name: body.name,
    apiKey: accessToken,
    version: 1,
  };
};
5. Deploy OAuth Code
After you have entered the config, press the Deploy button at the bottom of the page. This will deploy the OAuth code to a sandboxed server, which will be used to bridge ReadMe with the OAuth provider (in this case GitHub).
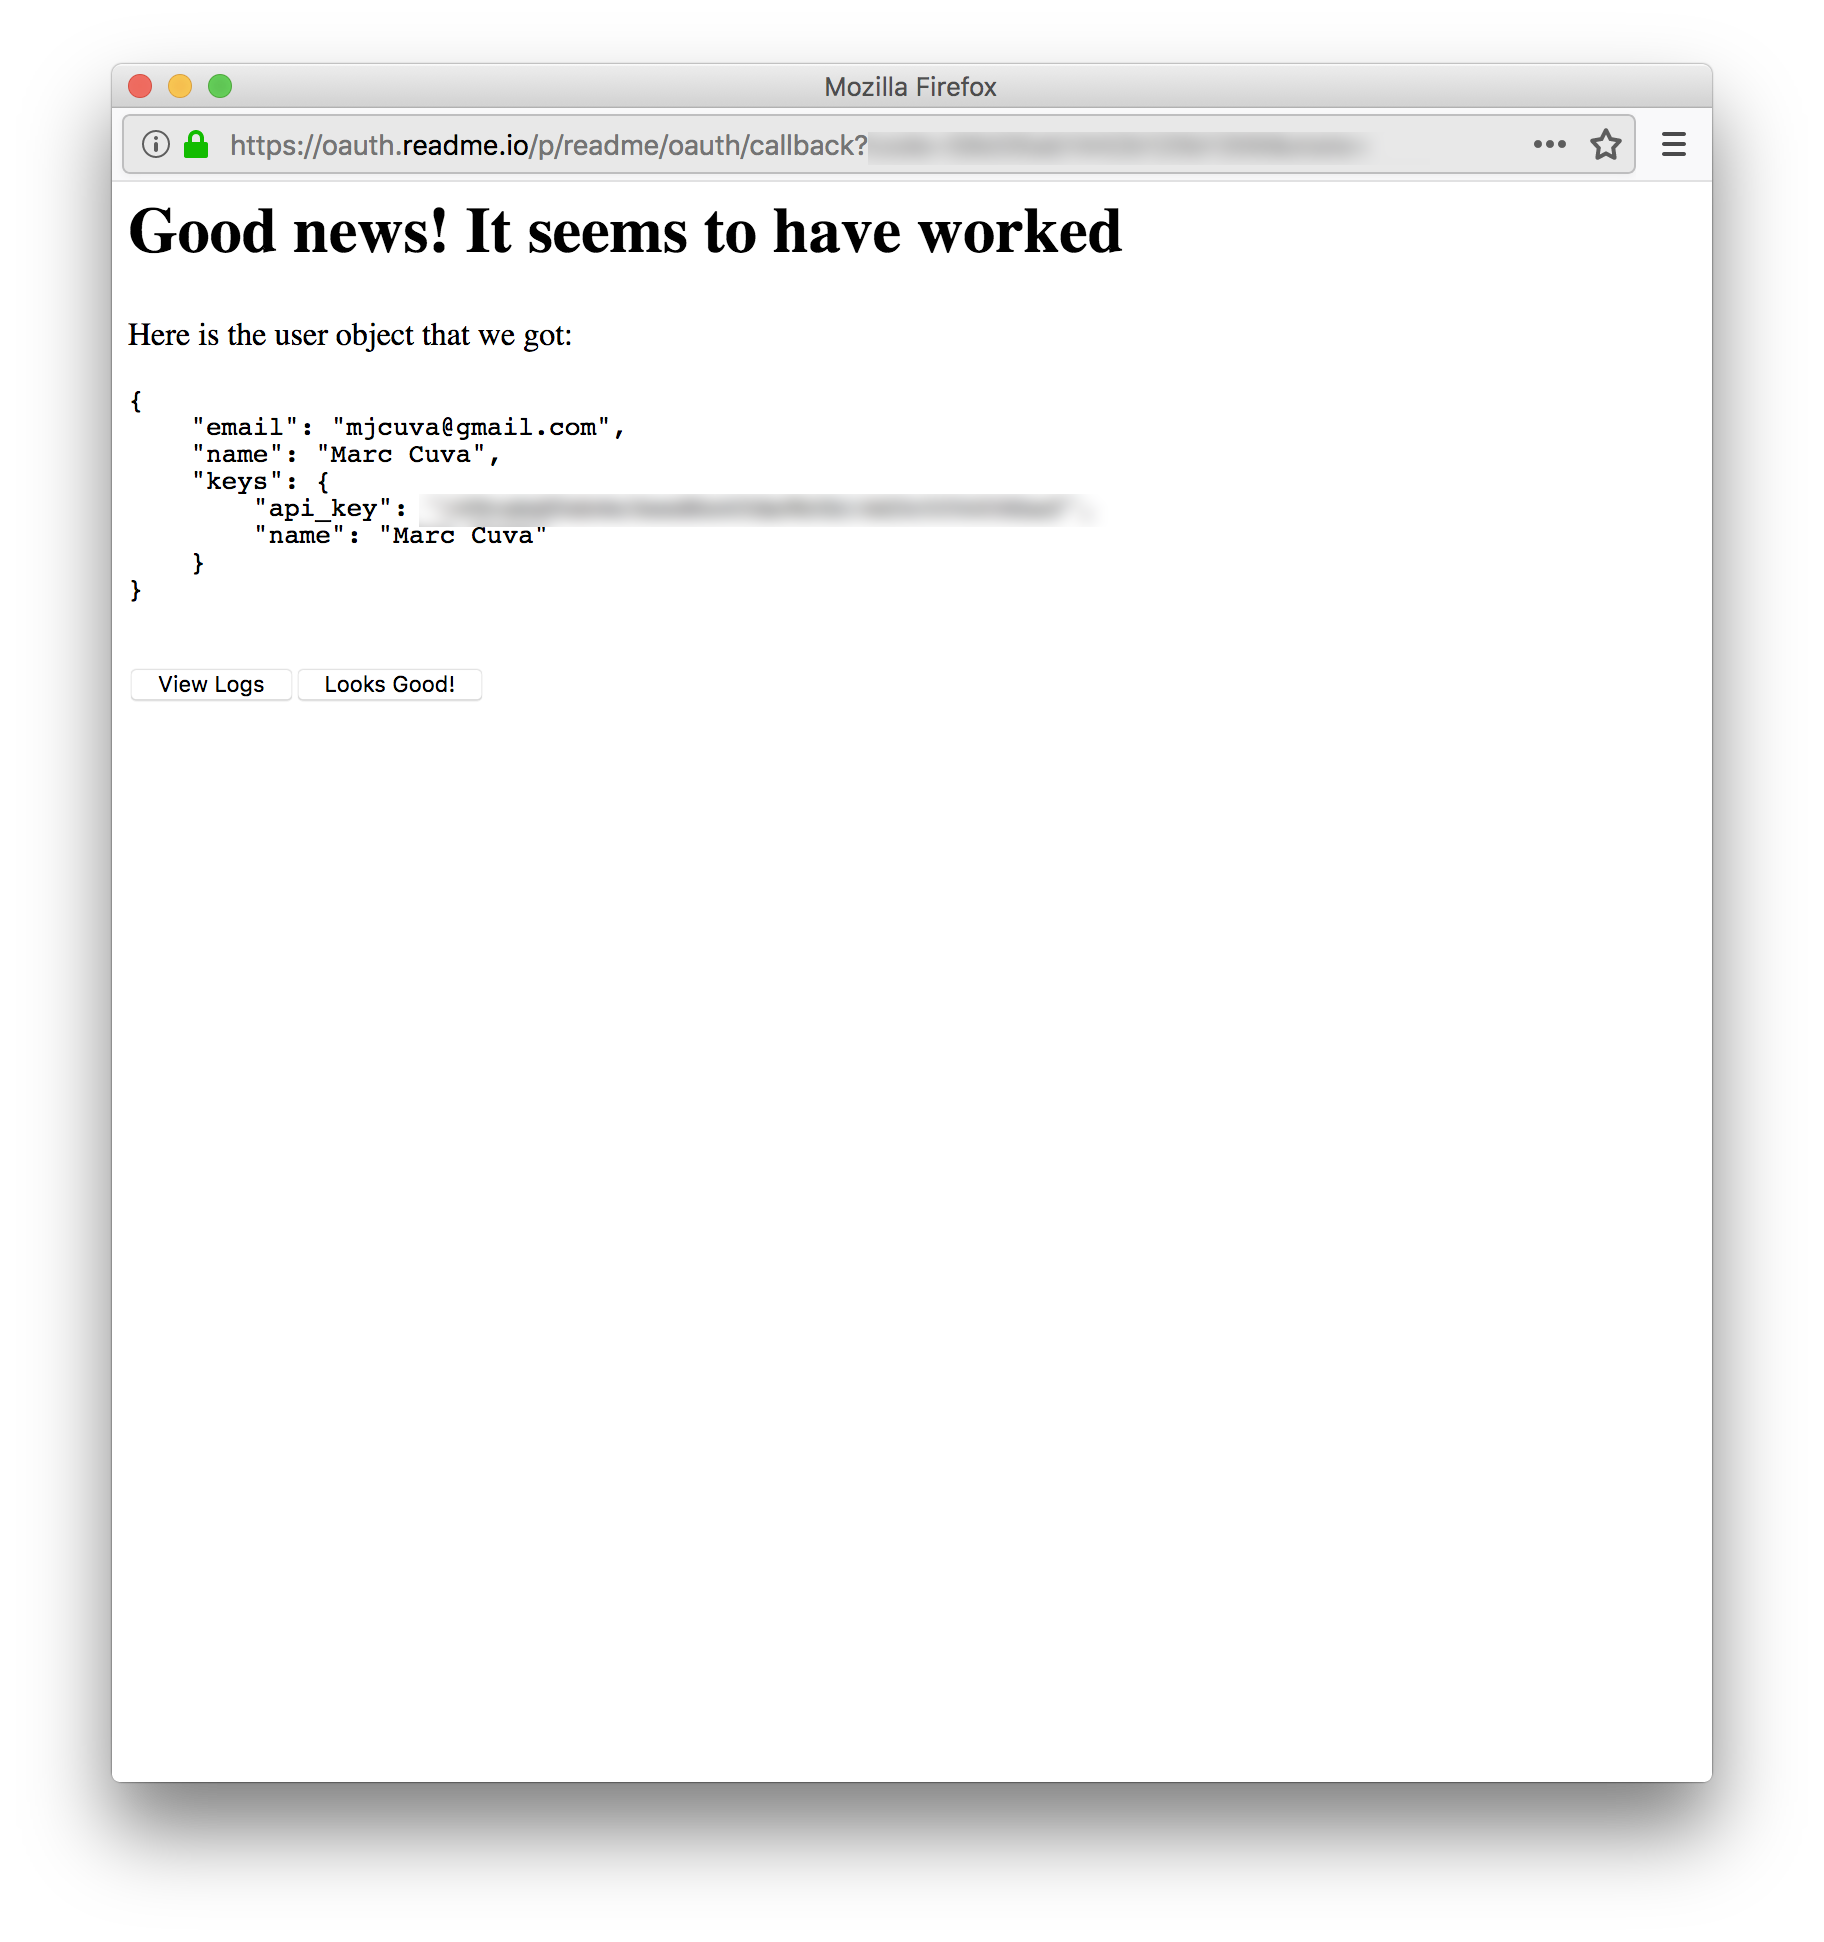
After it is deployed, you will be able to test it out and see the correct user object!

6. Enable OAuth

Once it seems to be working, you can scroll to the bottom of that page, and enable OAuth for your project! After this is enabled, all of the login links will use the OAuth login instead of the ReadMe one, so users will be able to log in with GitHub to leave Suggested Edits, or post on the support forum!
Updated 6 months ago