End User Access
Manage authentication, permissions, and access for your documentation's end users
End User Access controls how external readers authenticate and interact with your documentation. Configure your login page appearance, set access permissions, and manage your user list all from the group dashboard.
ReadMe Hosted Login
Configure authentication for your end users under Settings > End User Access. Select ReadMe as the login method to use a ReadMe hosted login page.
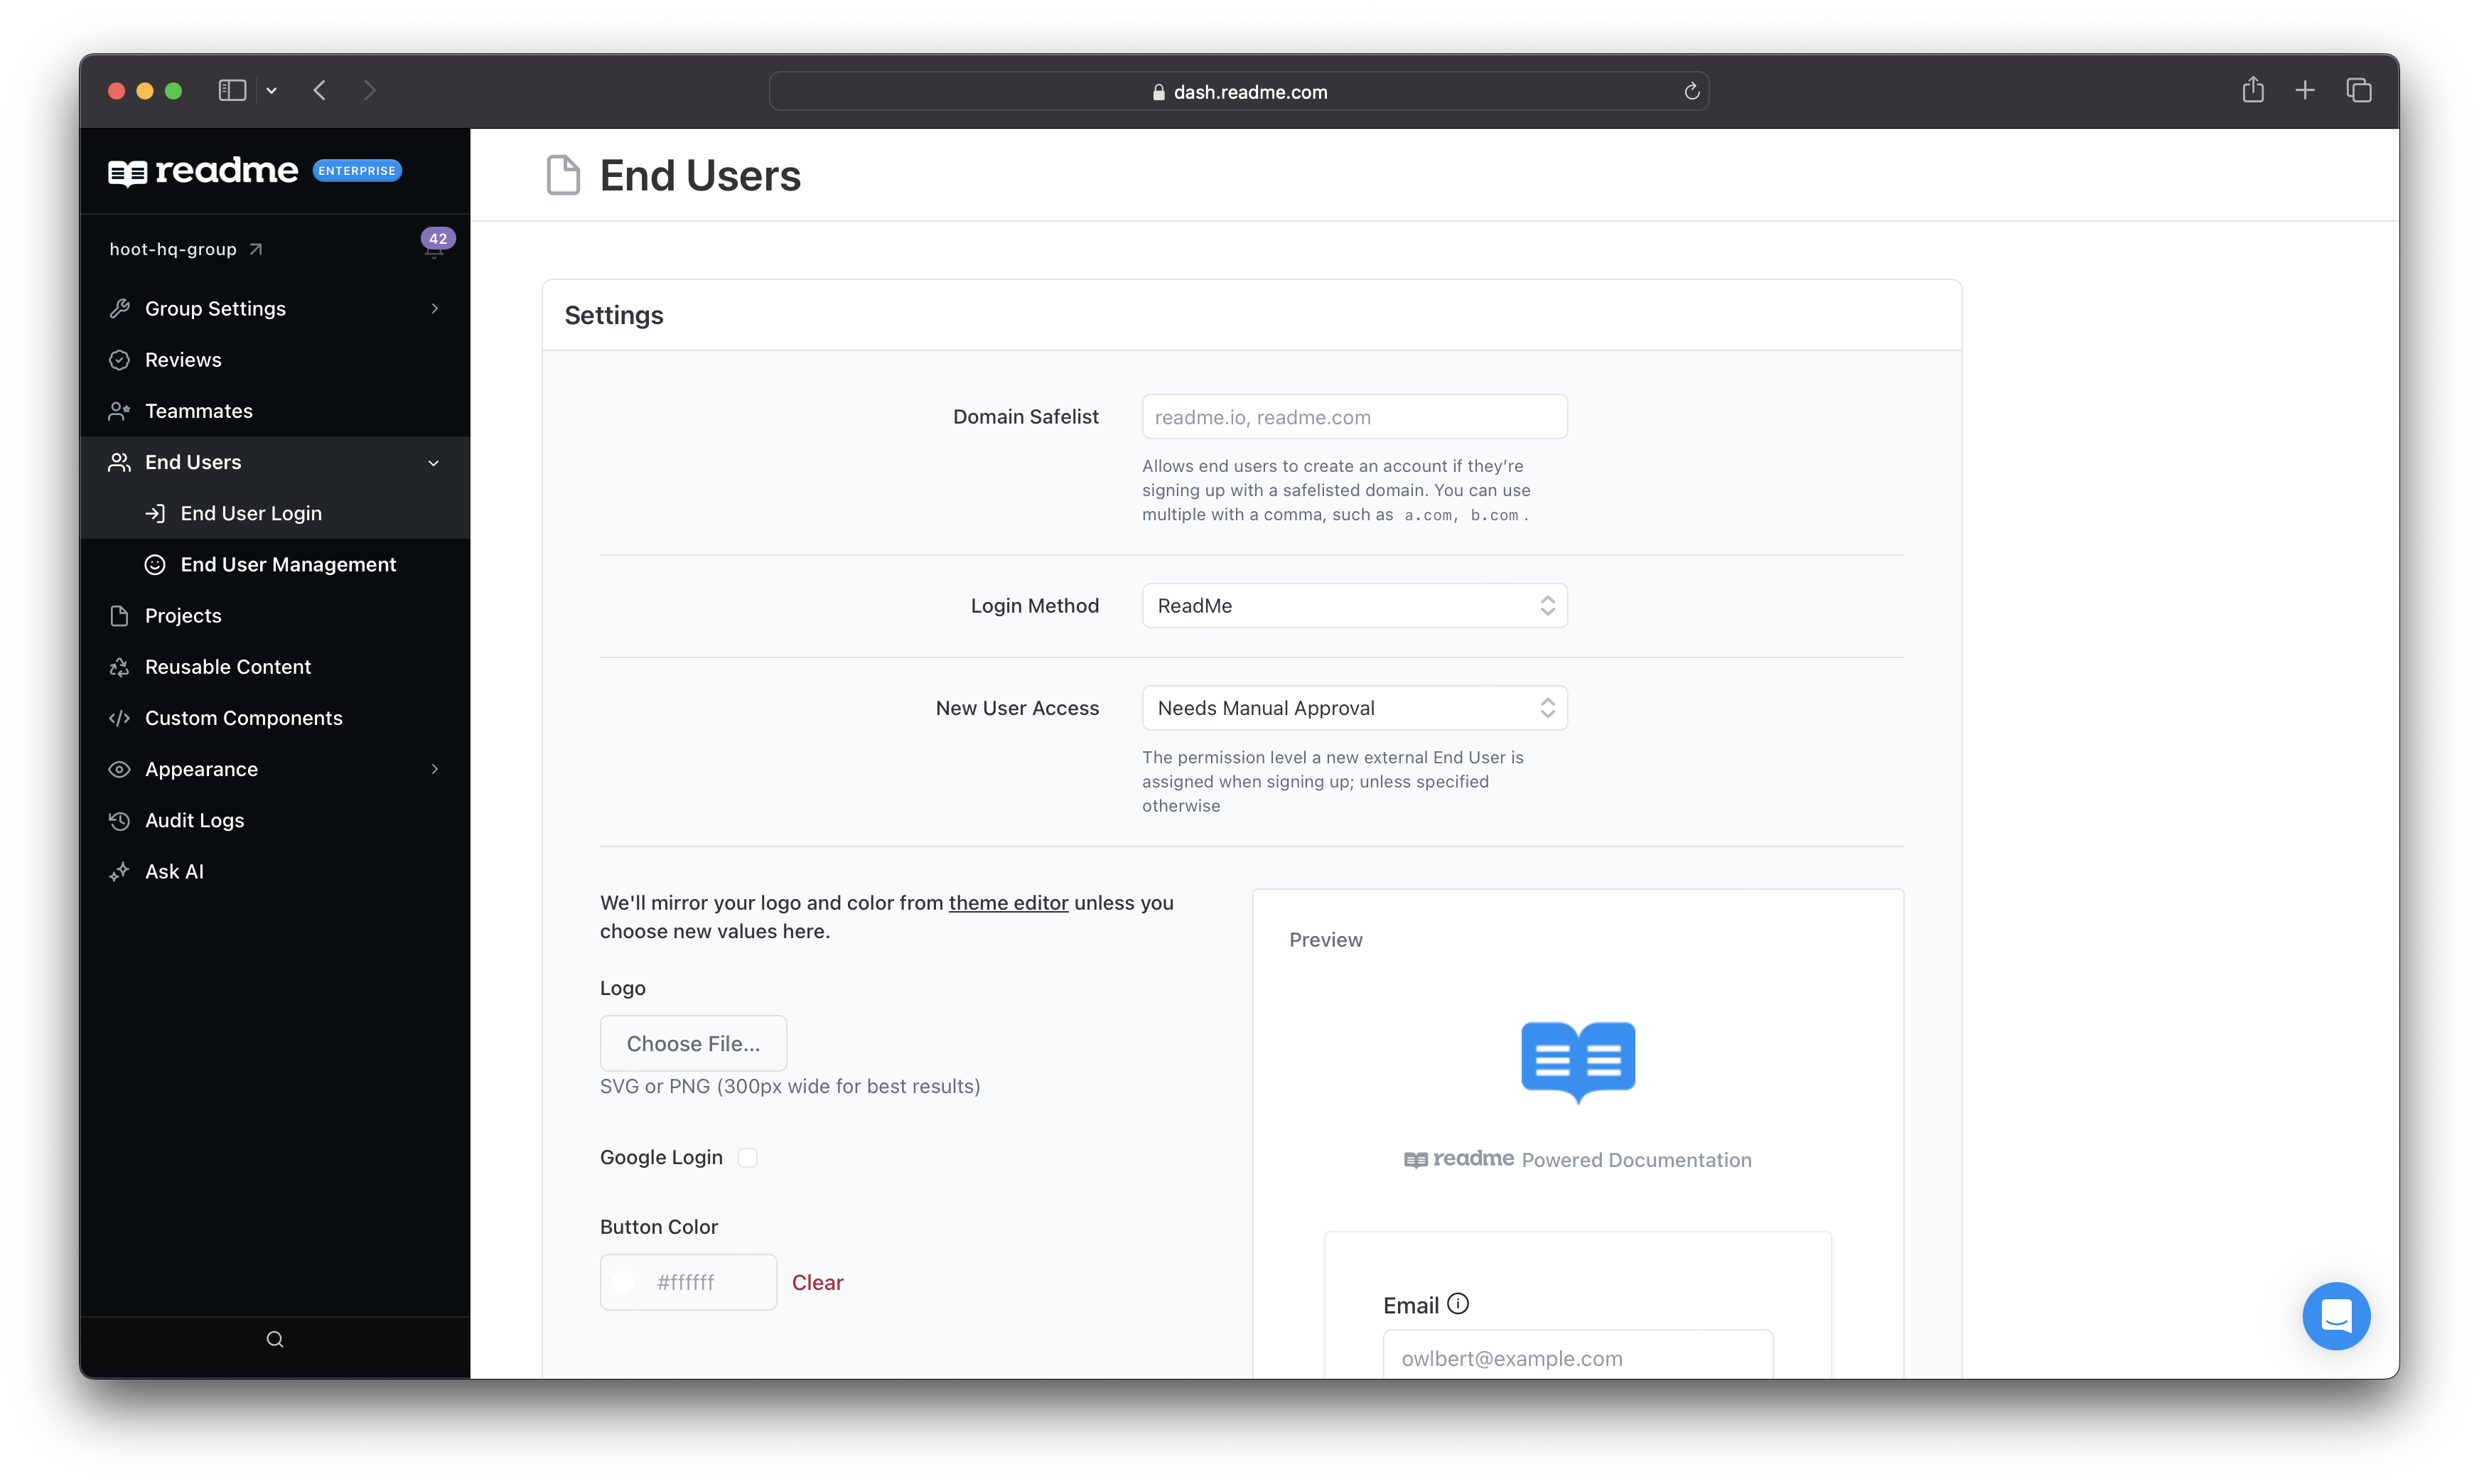
Login Settings
Configure the following settings to authenticate your end users using a ReadMe hosted login page.
- Domain Safelist - Restrict sign-ups to specific email domains. Users can only create an account if their email matches a safelisted domain. Separate multiple domains with a comma, such as
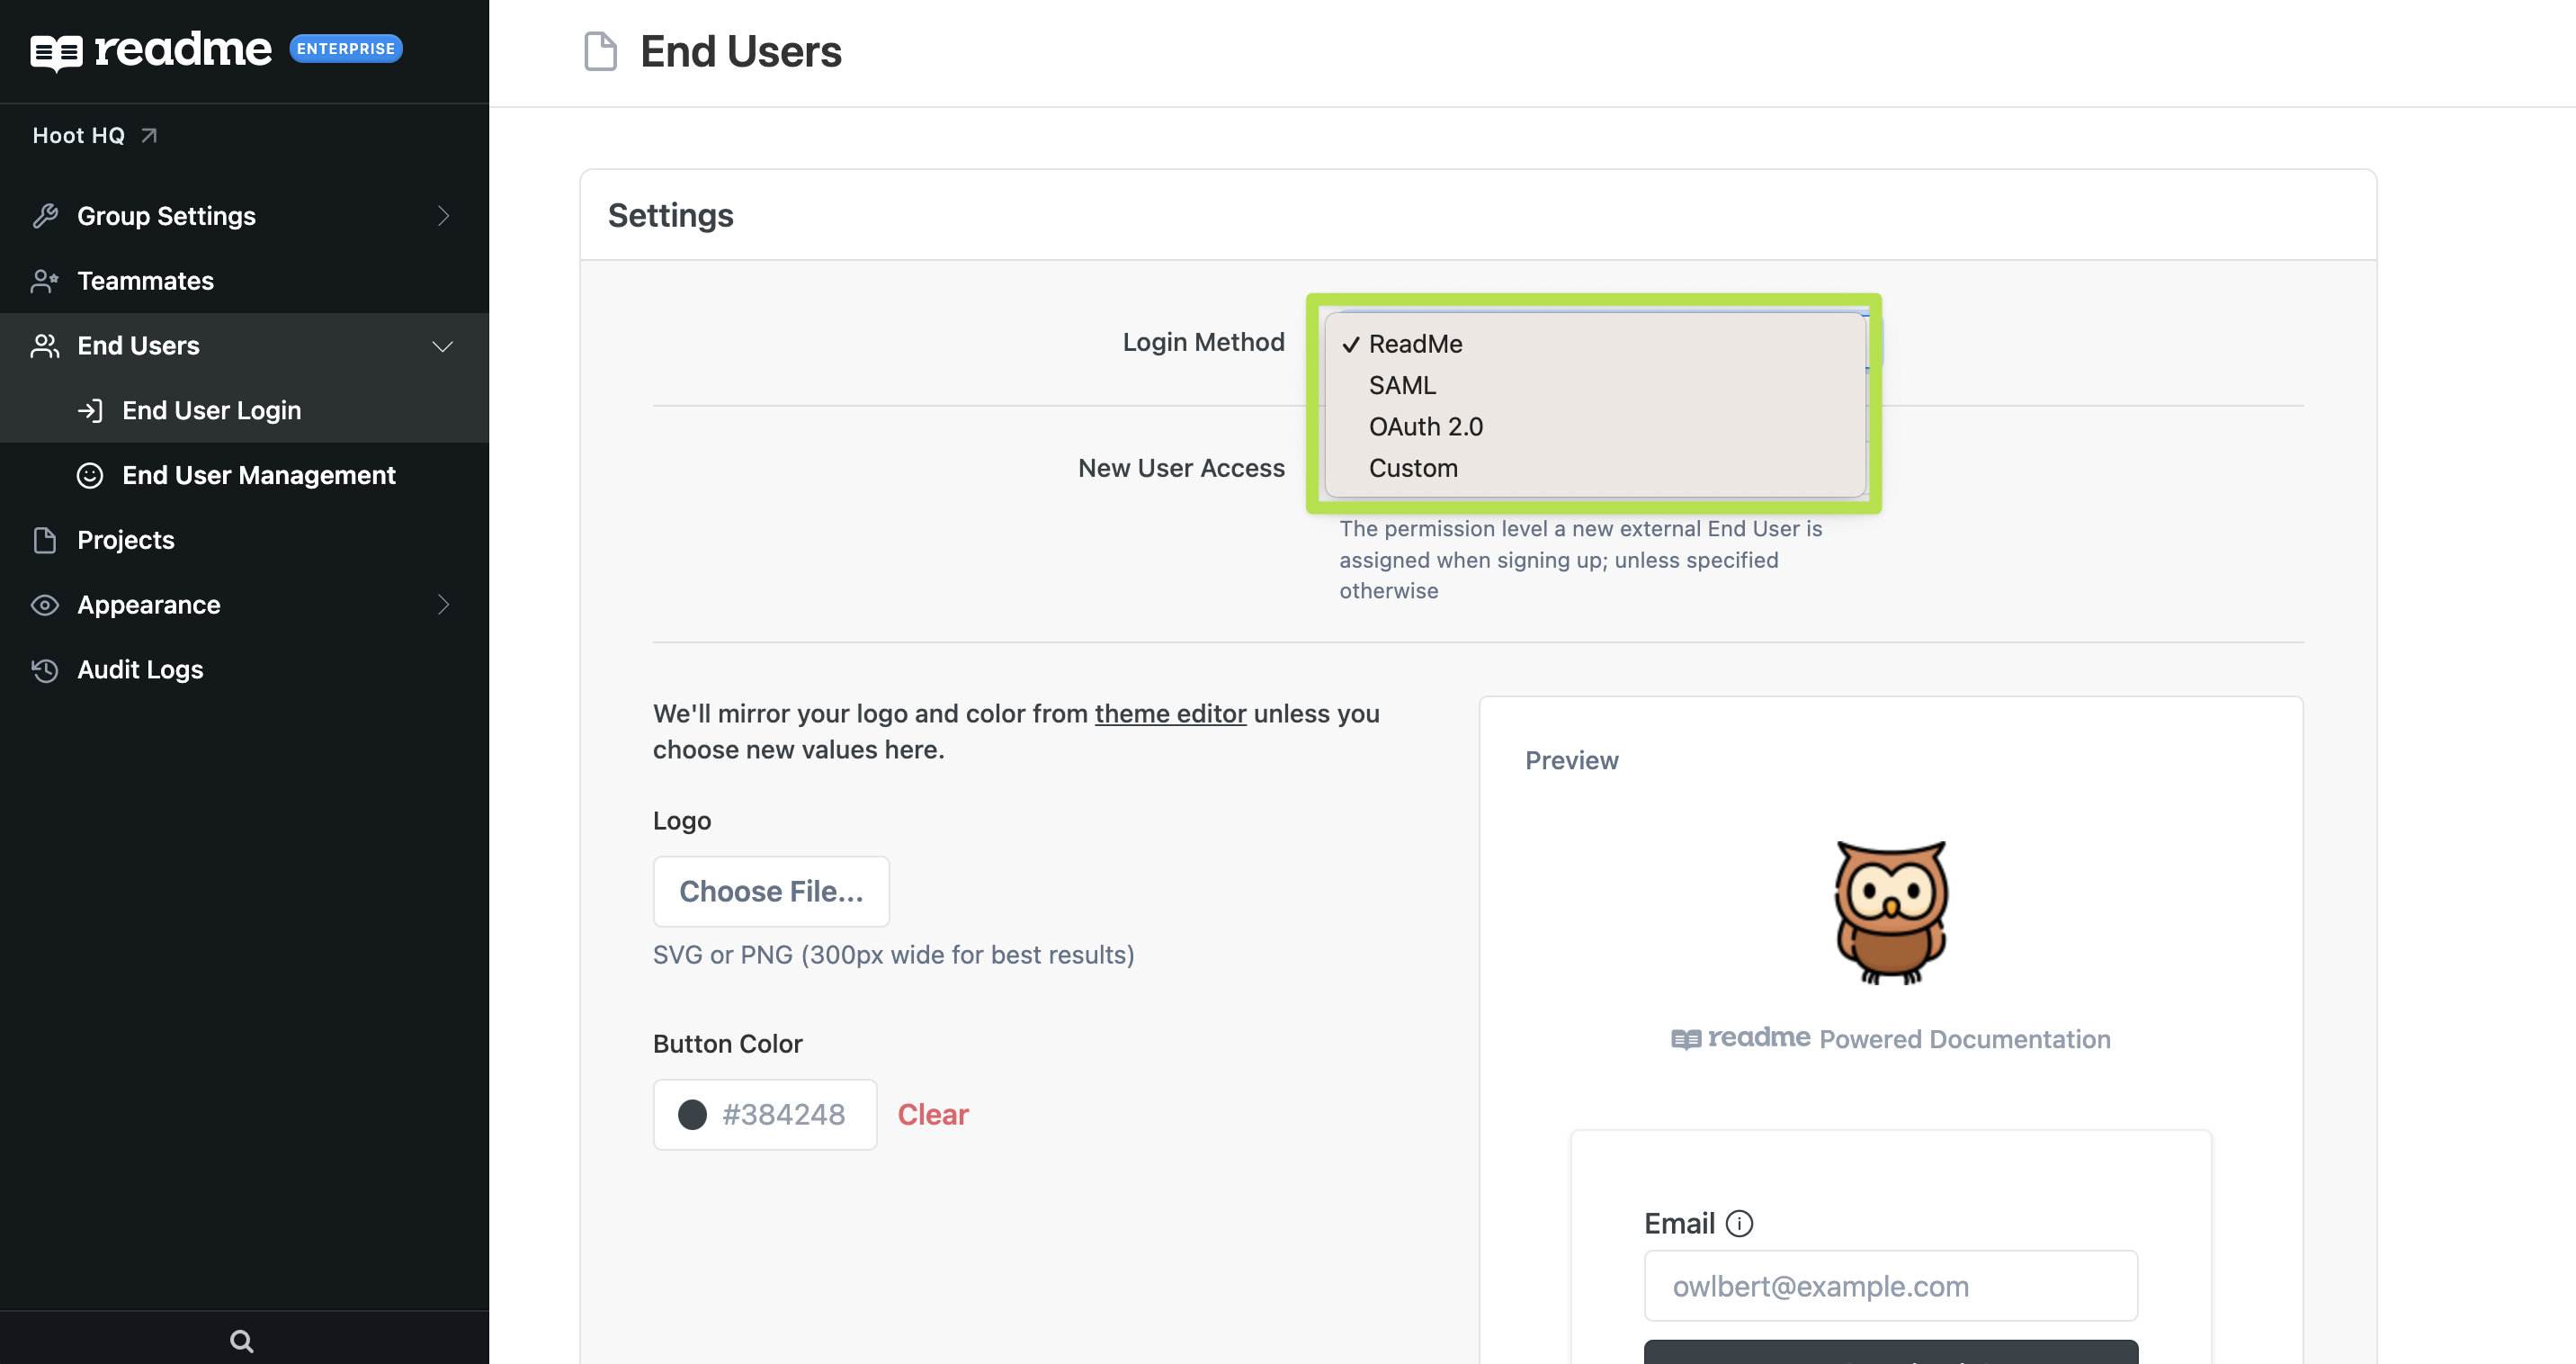
a.com, b.com. - Login Method - The authentication method presented to end users on the login page. Defaults to ReadMe's built-in email login.
- New User Access -The permission level assigned to new end users when they sign up. Set to Needs Manual Approval to review users before granting access.
- Logo - Upload a logo to display on the login page. Use an SVG or PNG format, with 300px width recommended. ReadMe uses your theme editor logo by default.
- Google Login - Enable to allow end users to authenticate with Google.
- Button Color - Set a custom hex color for the login button. Click Clear to revert to the value set in the theme editor.
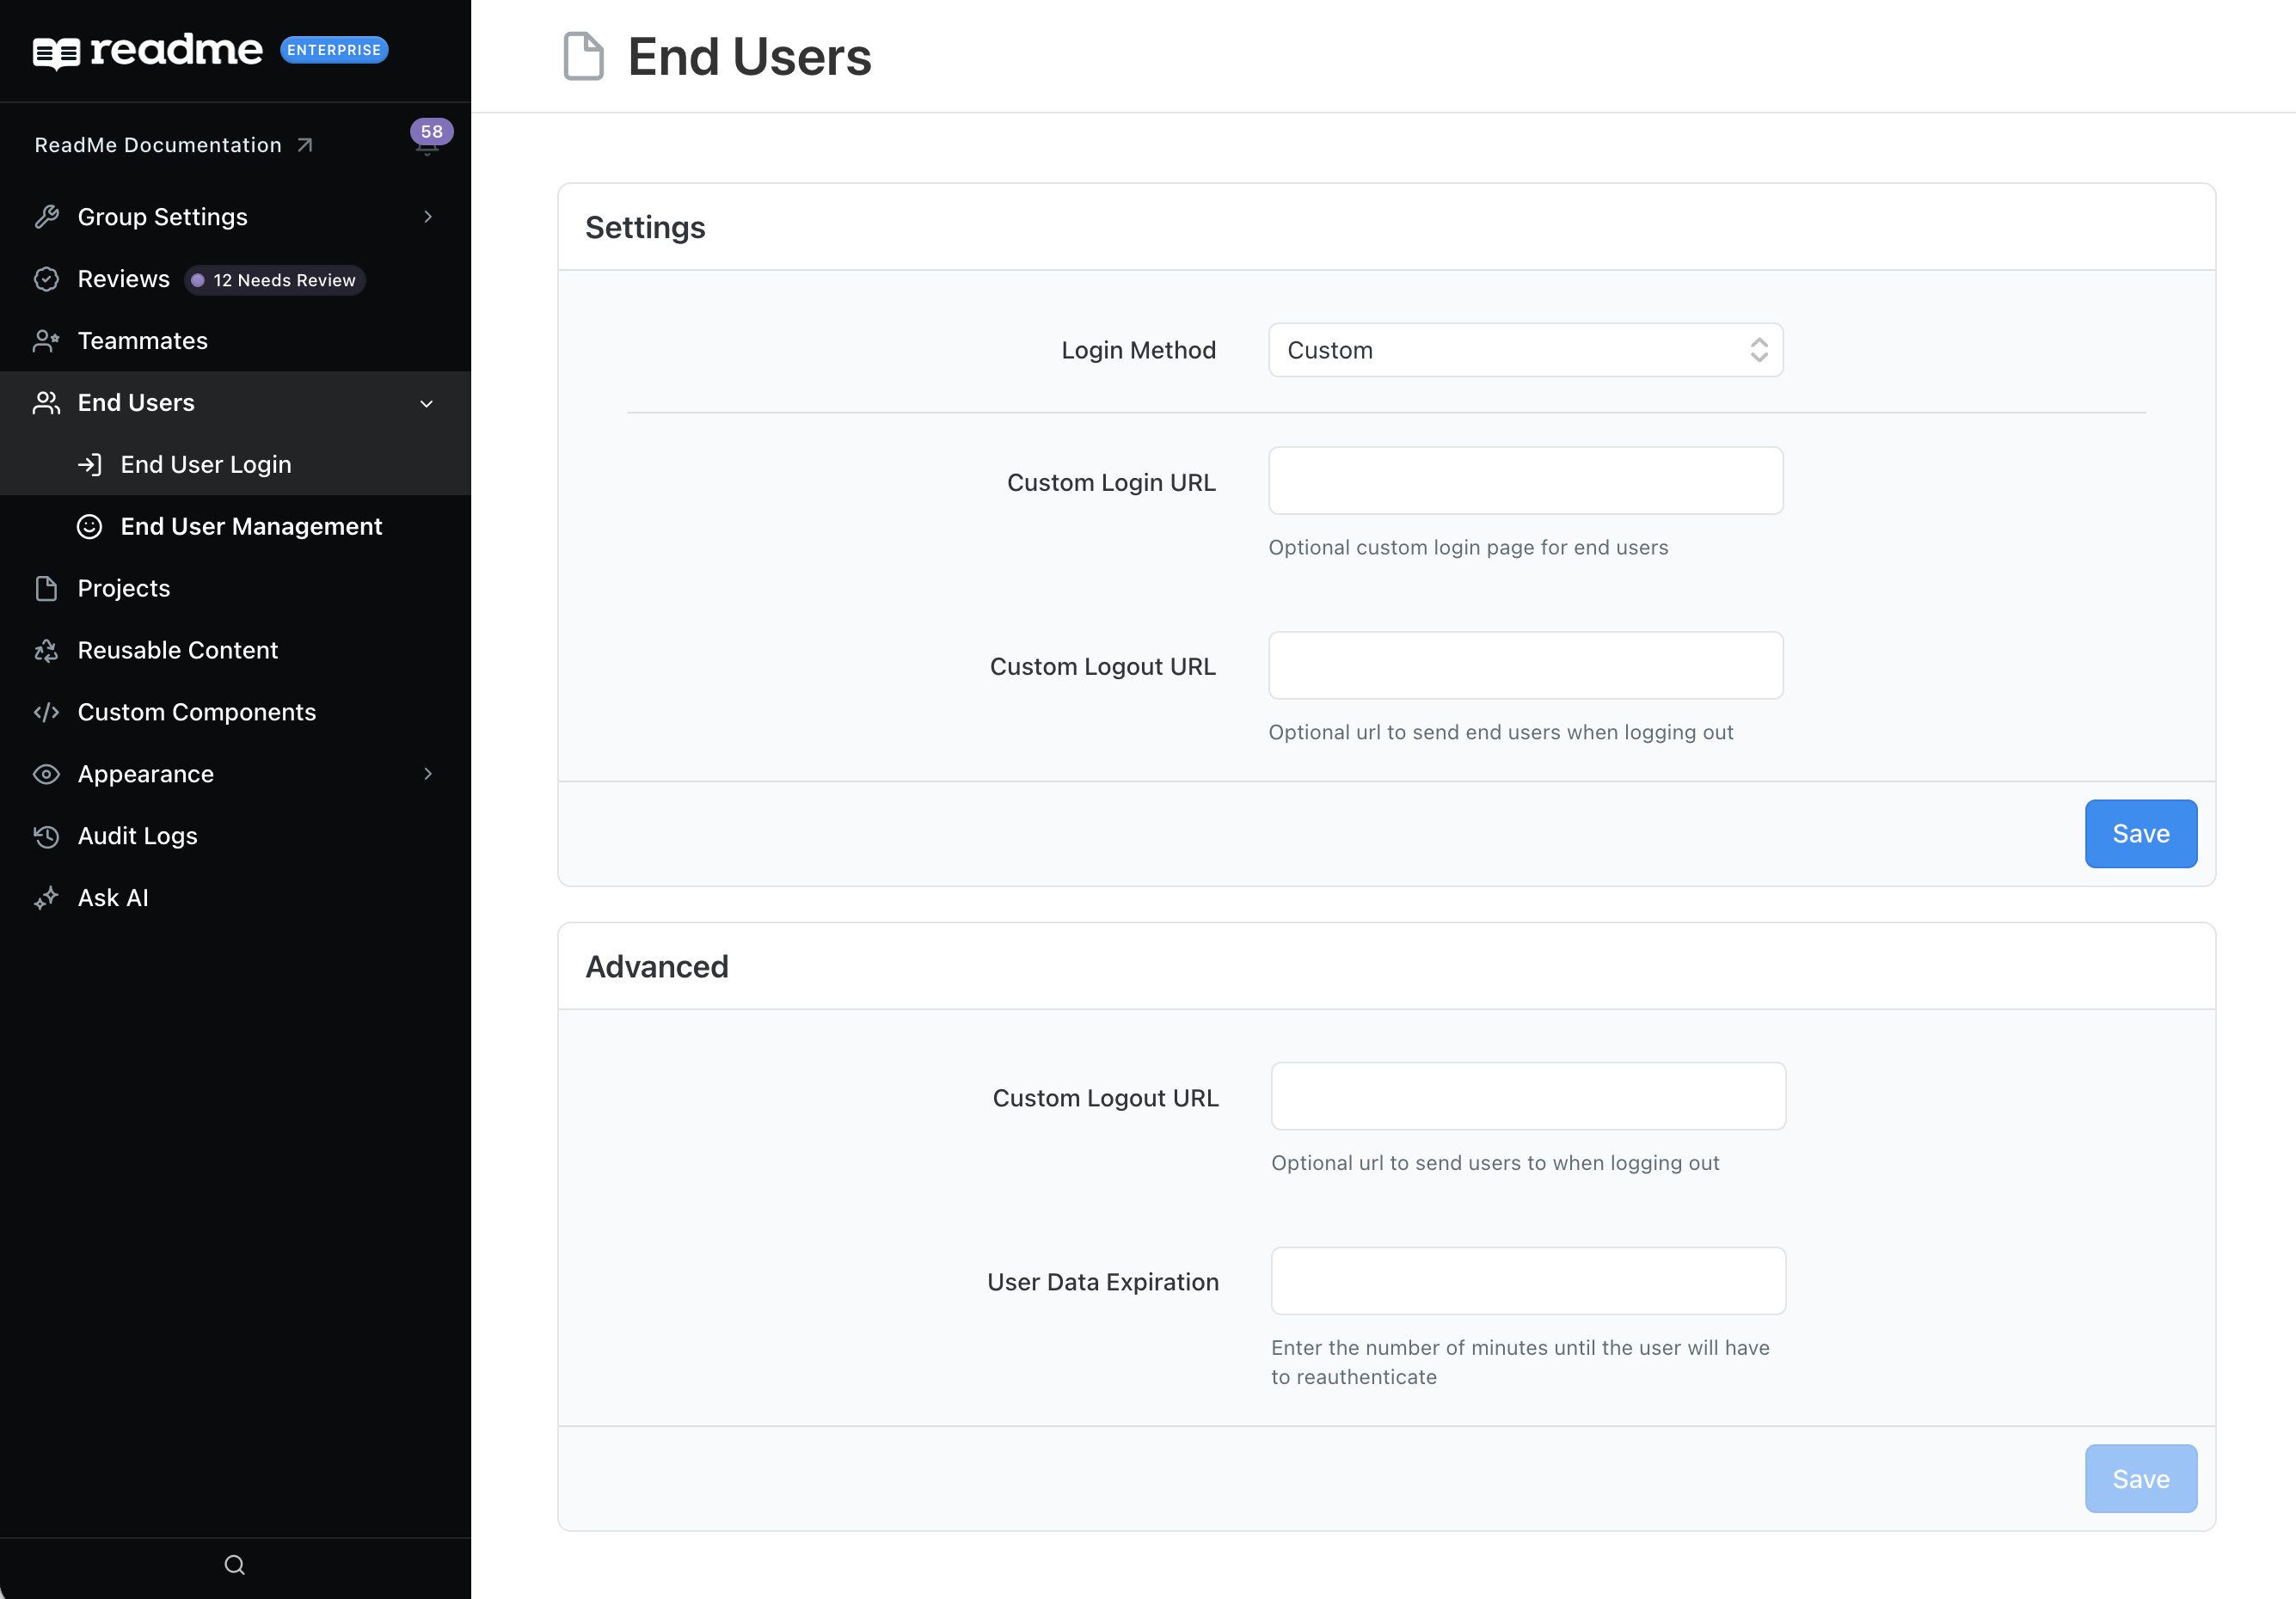
Advanced Settings
Fine-tune session behavior and post-logout redirects for your end users.
- Custom Logout URL - Redirect users to a specific URL when they log out. Leave blank to use ReadMe's default logout behavior.
- User Data Expiration - Enter the number of minutes before a user must re-authenticate. Leave blank to keep sessions active indefinitely.
Custom Hosted Login
To use your own login page, set the Login Method to Custom and add the URL where you host your page.
Single Sign-On Access
Configure SAML-based single sign-on for your end users under Settings > End User Access. Select SAML as the login method to let end users authenticate through your identity provider.
If you haven't configured SAML yet, see Single Sign-On (SSO) to get started. This section assumes you have an Enterprise Group set up with ReadMe.
- Set your docs to private. Go to the Projects page in your Enterprise Group dashboard, open the Public/Private dropdown, and select Private so only Teammates and End Users with permissions can access the developer hub. You can also set a password for private docs.
- Confirm your login mechanism. Once you set up your project, you control how end users log in to the private project. If you already configured SAML, ReadMe automatically prompts end users to log in with SAML, so minimal changes are required.
OAuth Access
OAuth Access lets your users log in to ReadMe through a third-party OAuth provider, like GitHub, instead of ReadMe's own login page. To set it up, you deploy a small bridge server that authenticates the user with your OAuth provider, then passes their info back to ReadMe as a JWT. You can host this bridge yourself, or deploy it directly from ReadMe using the starter code on GitHub. For most implementations, editing config.js is enough to get it working.
Set Up the Bridge Server
Once you've decided where to host it, configure the bridge with your OAuth provider's credentials and deploy it.
- Get your config from GitHub. Set up an OAuth App in GitHub so you can authenticate with their OAuth server. Create apps at https://github.com/settings/developers.
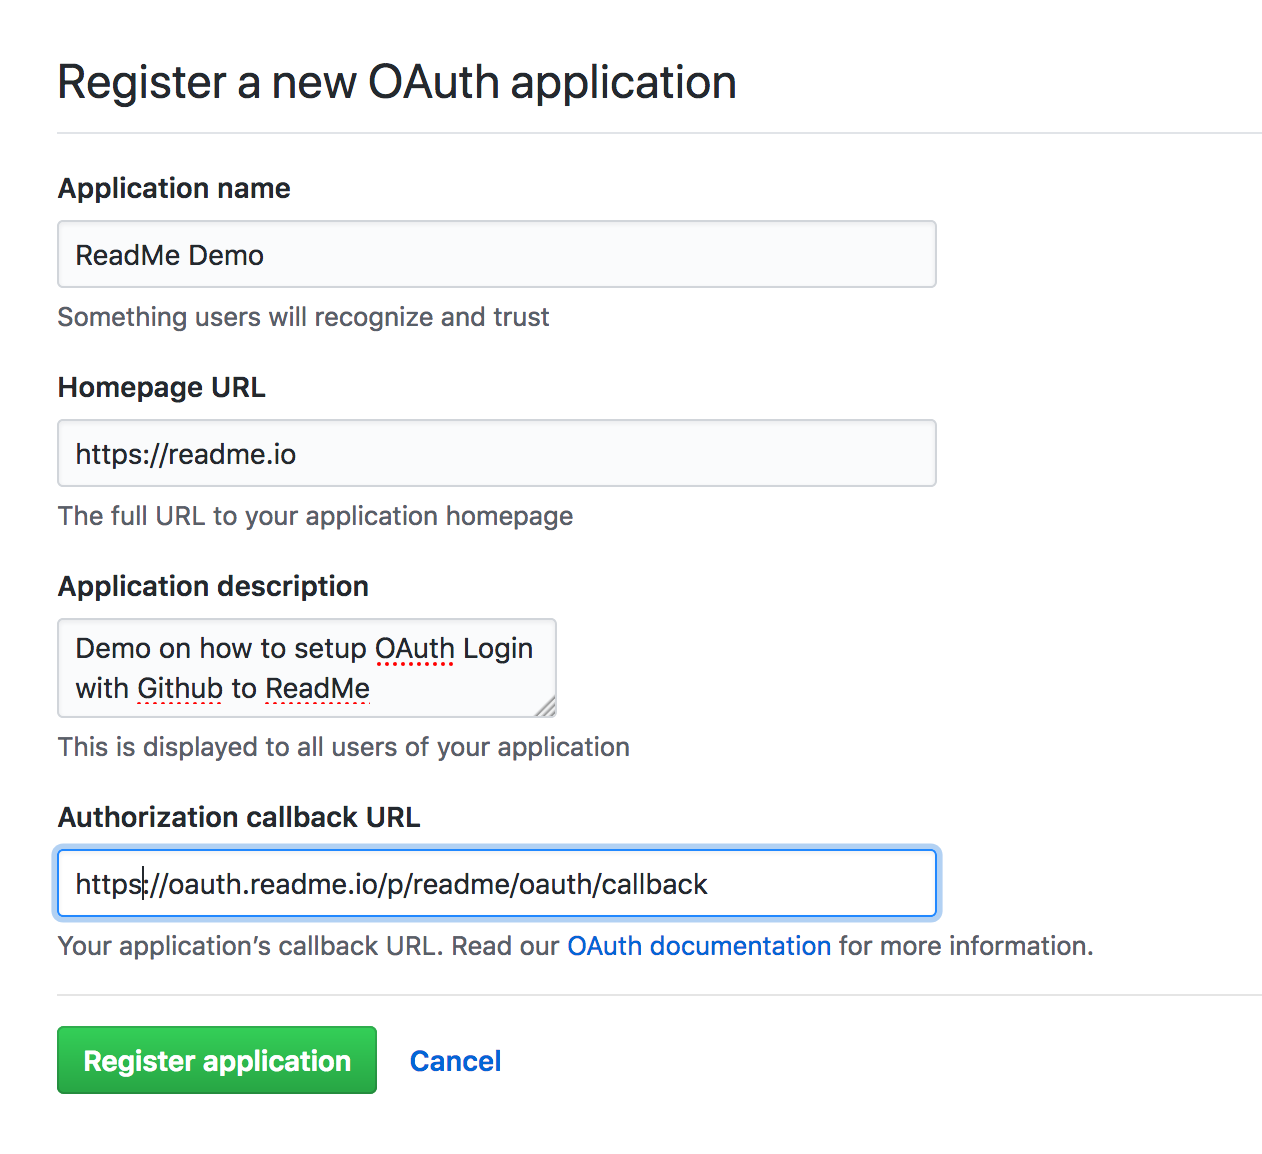
Click New OAuth App and fill out the form. Set the callback URL to http://oauth.readme.io/p/<YOUR_PROJECT_SUBDOMAIN>/oauth/callback, replacing YOUR_PROJECT_SUBDOMAIN with your project subdomain.
- Give ReadMe your Client ID and Client Secret.
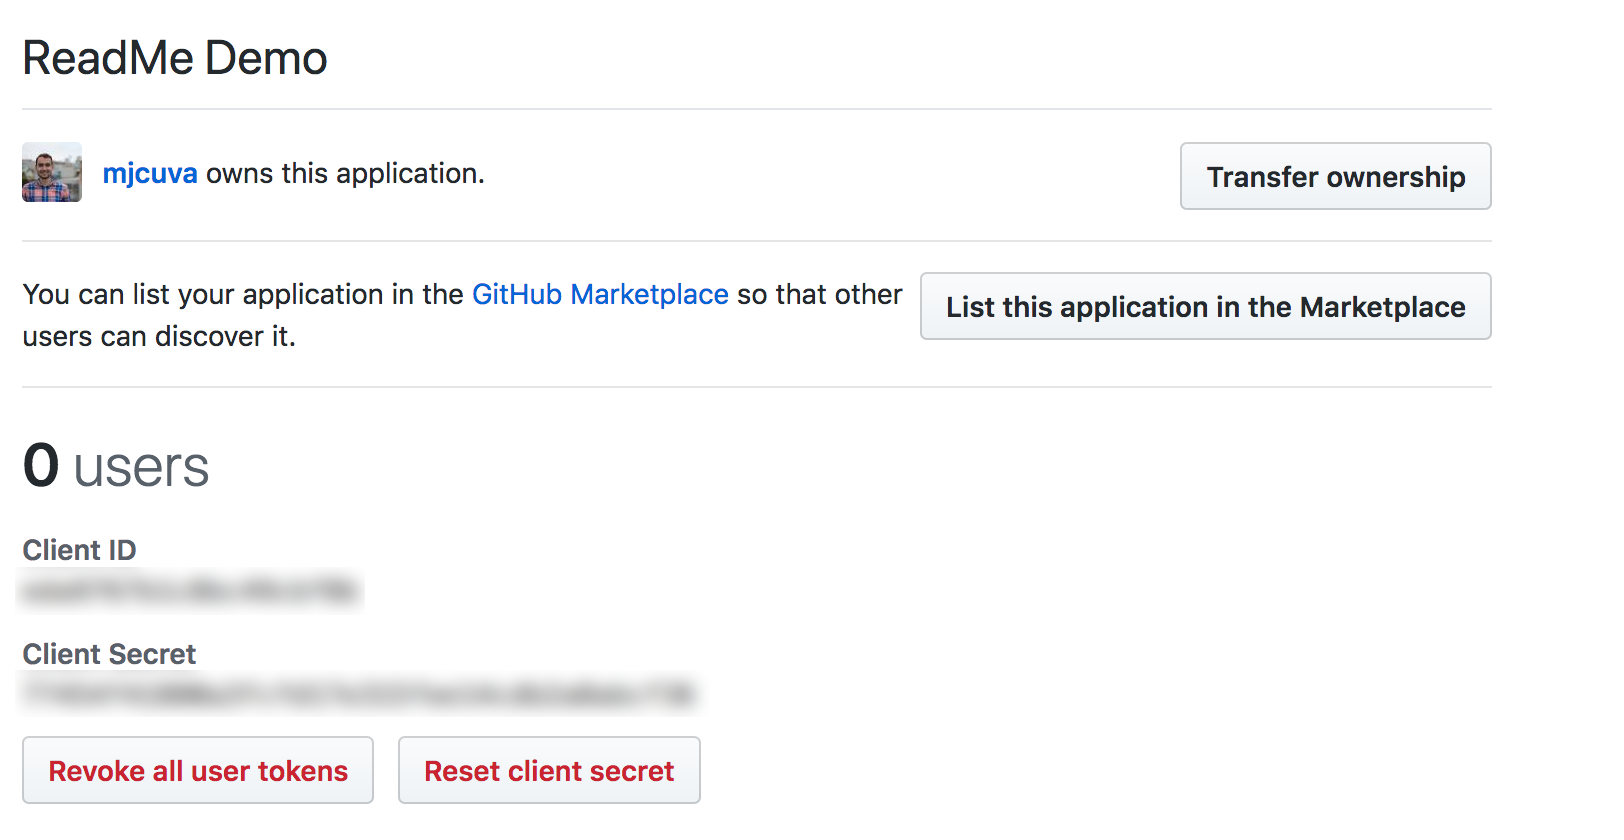
After you create your OAuth App, GitHub shows you a Client ID and Client Secret. Navigate to User Controls > OAuth Login in your ReadMe dashboard and enter these values in the Config section:
exports.config = {
  clientID: 'CLIENT_ID',
  clientSecret: 'CLIENT_SECRET',
  authorizationPath: 'https://github.com/login/oauth/authorize',
  tokenPath: 'https://github.com/login/oauth/access_token',
  profilePath: 'https://api.github.com/user',
  scope: '',
};- Modify the user object. Beneath the config is a callback that passes a user object to ReadMe. This is the user who logs in after they complete the OAuth flow. Since the GitHub user API doesn't return
user.project_name, use their name instead:
// At this point the user has been authenticated and body contains
// the info your server returned about them.
// Return the user info you want to pass to readme
exports.loginCallback = function(body, accessToken) {
  return {
    email: body.email,
    name: body.name,
    apiKey: accessToken,
    version: 1,
  };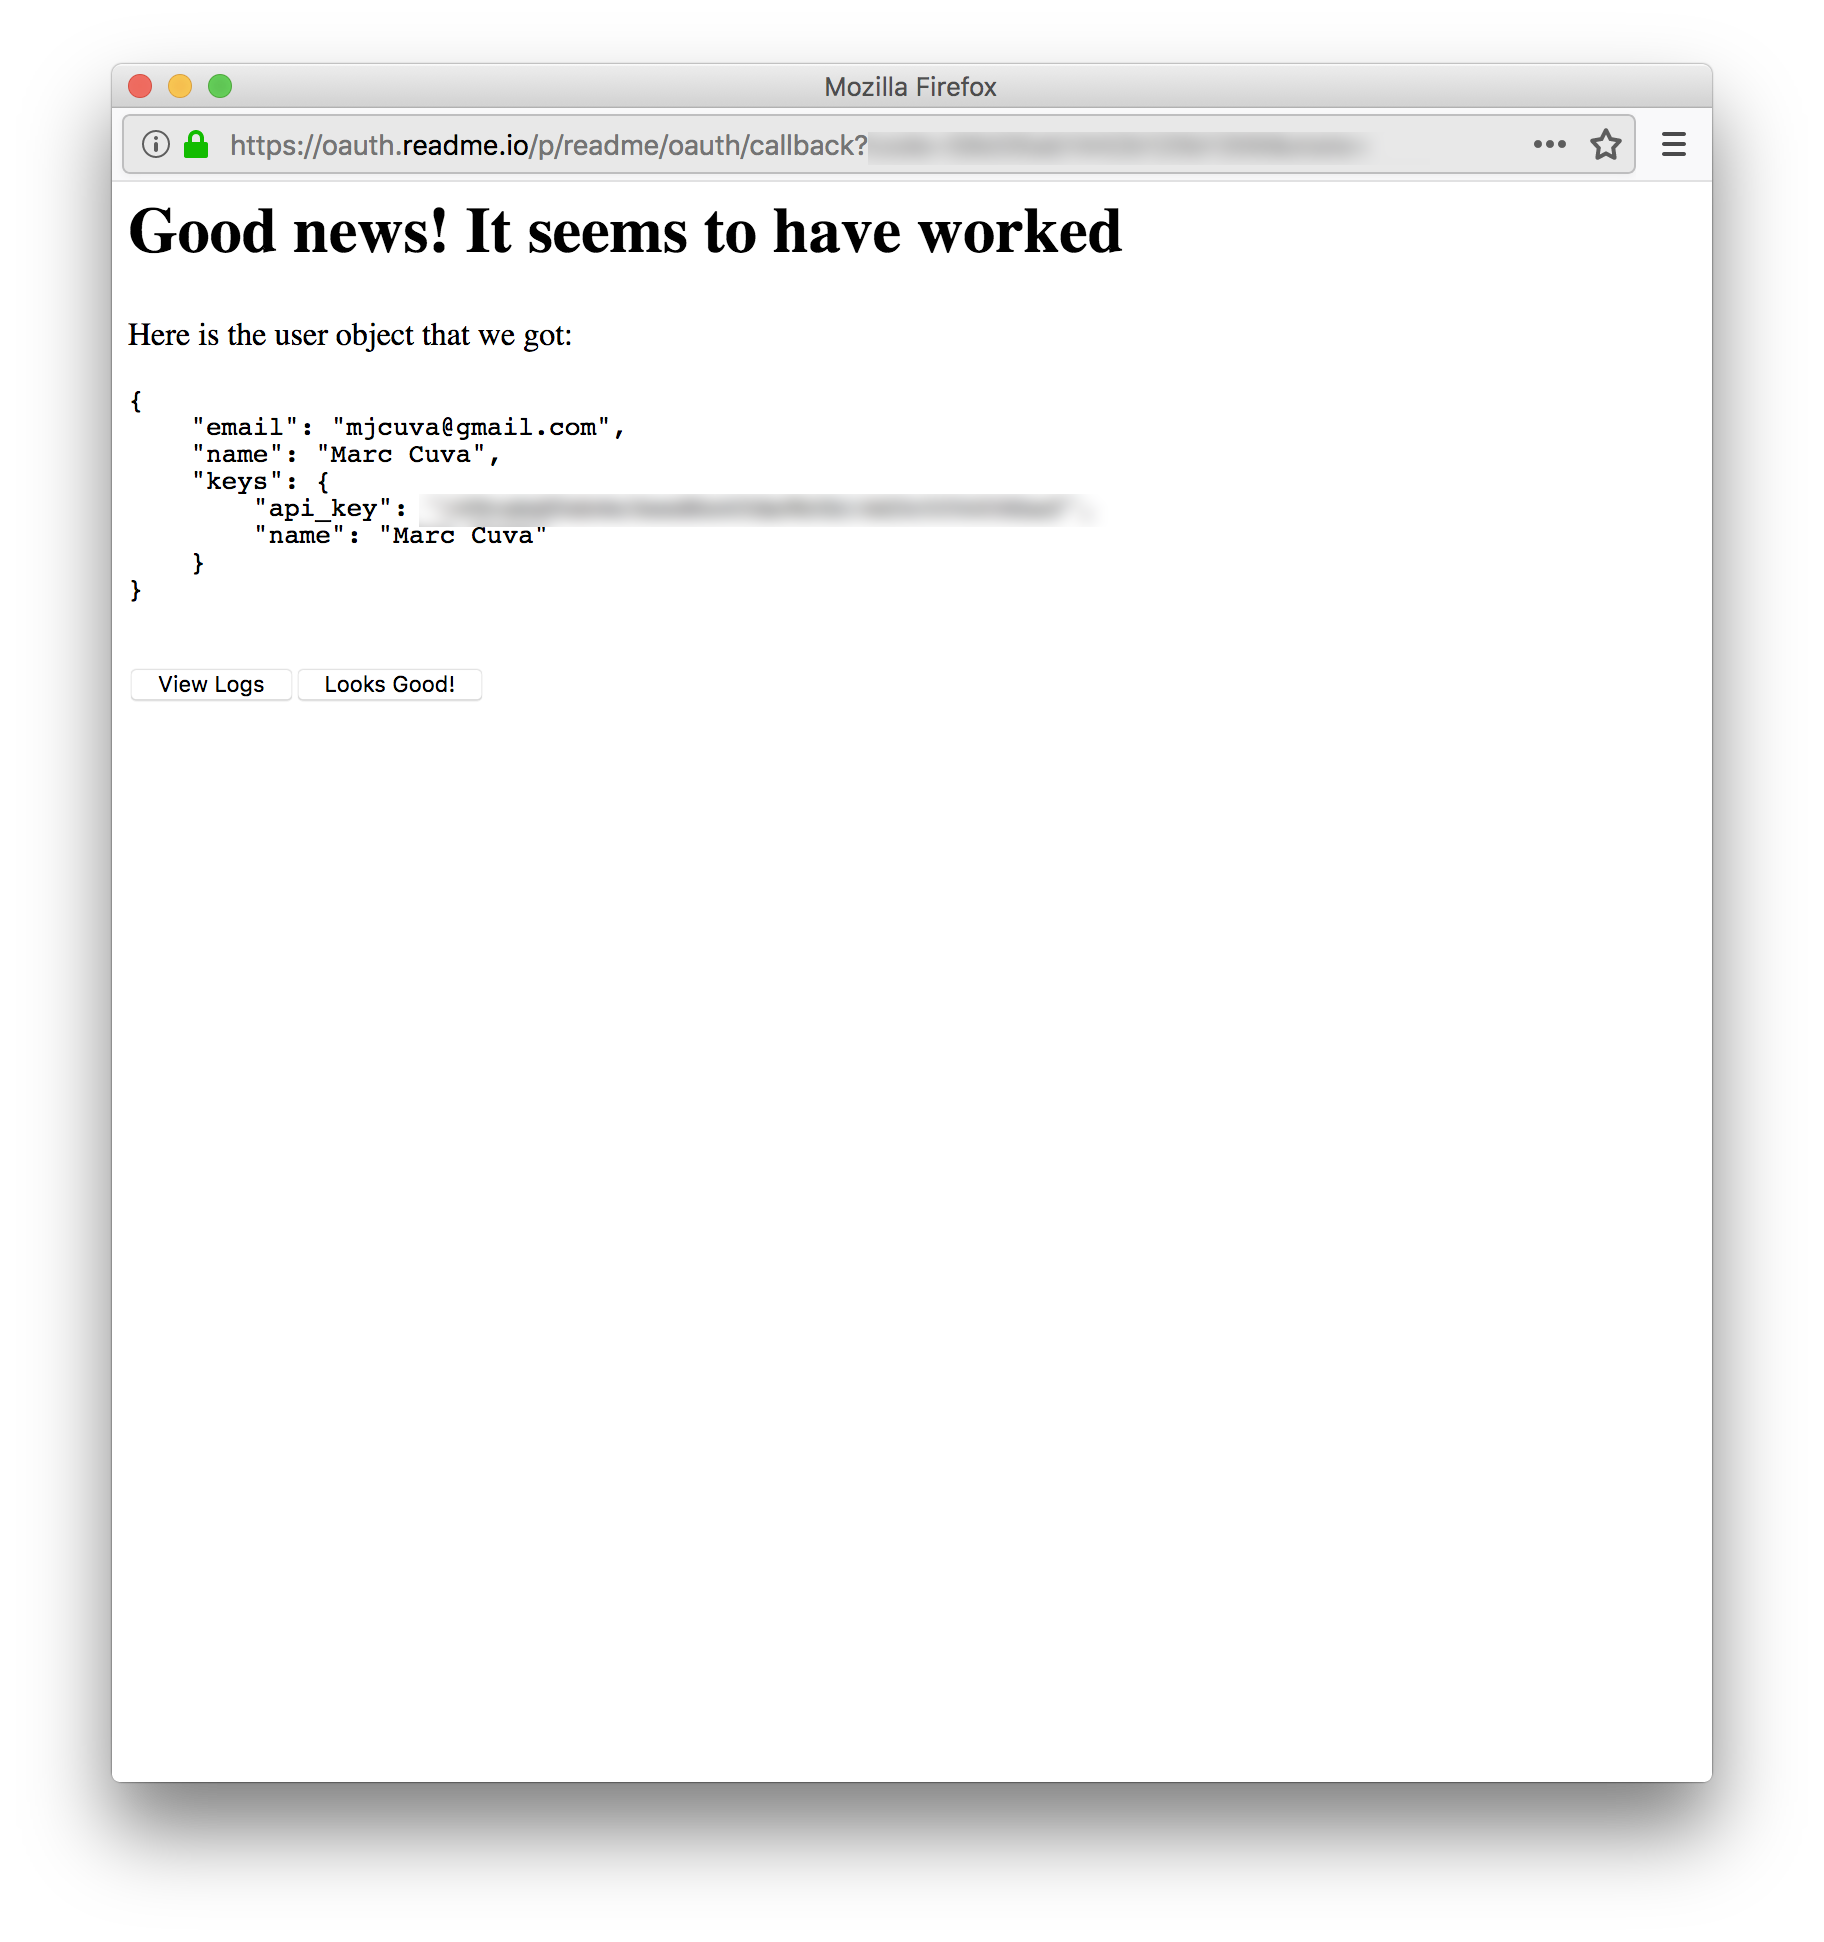
};- Deploy the OAuth code. Press Deploy at the bottom of the page to push the OAuth code to a sandboxed server that bridges ReadMe with the OAuth provider. Once deployed, test it and confirm the correct user object.
- Enable OAuth.

Once it's working, scroll to the bottom of the page and enable OAuth for your project. All login links then use OAuth instead of ReadMe's login page, so users can log in with GitHub to leave Suggested Edits or post on the support forum.
Manage End Users
The End Users page lets you invite users and view everyone who has access to your docs. Navigate to Settings > End Users to manage your user list.
ReadMe grants access immediately to users you invite. Users who sign up on their own follow the New User Access setting configured above.
Updated 2 days ago