Creating and Editing Your Docs
Learn how to create and edit documentation using ReadMe's Editing UI.
This guide covers the essential tools and features you'll use to write and maintain your documentation.
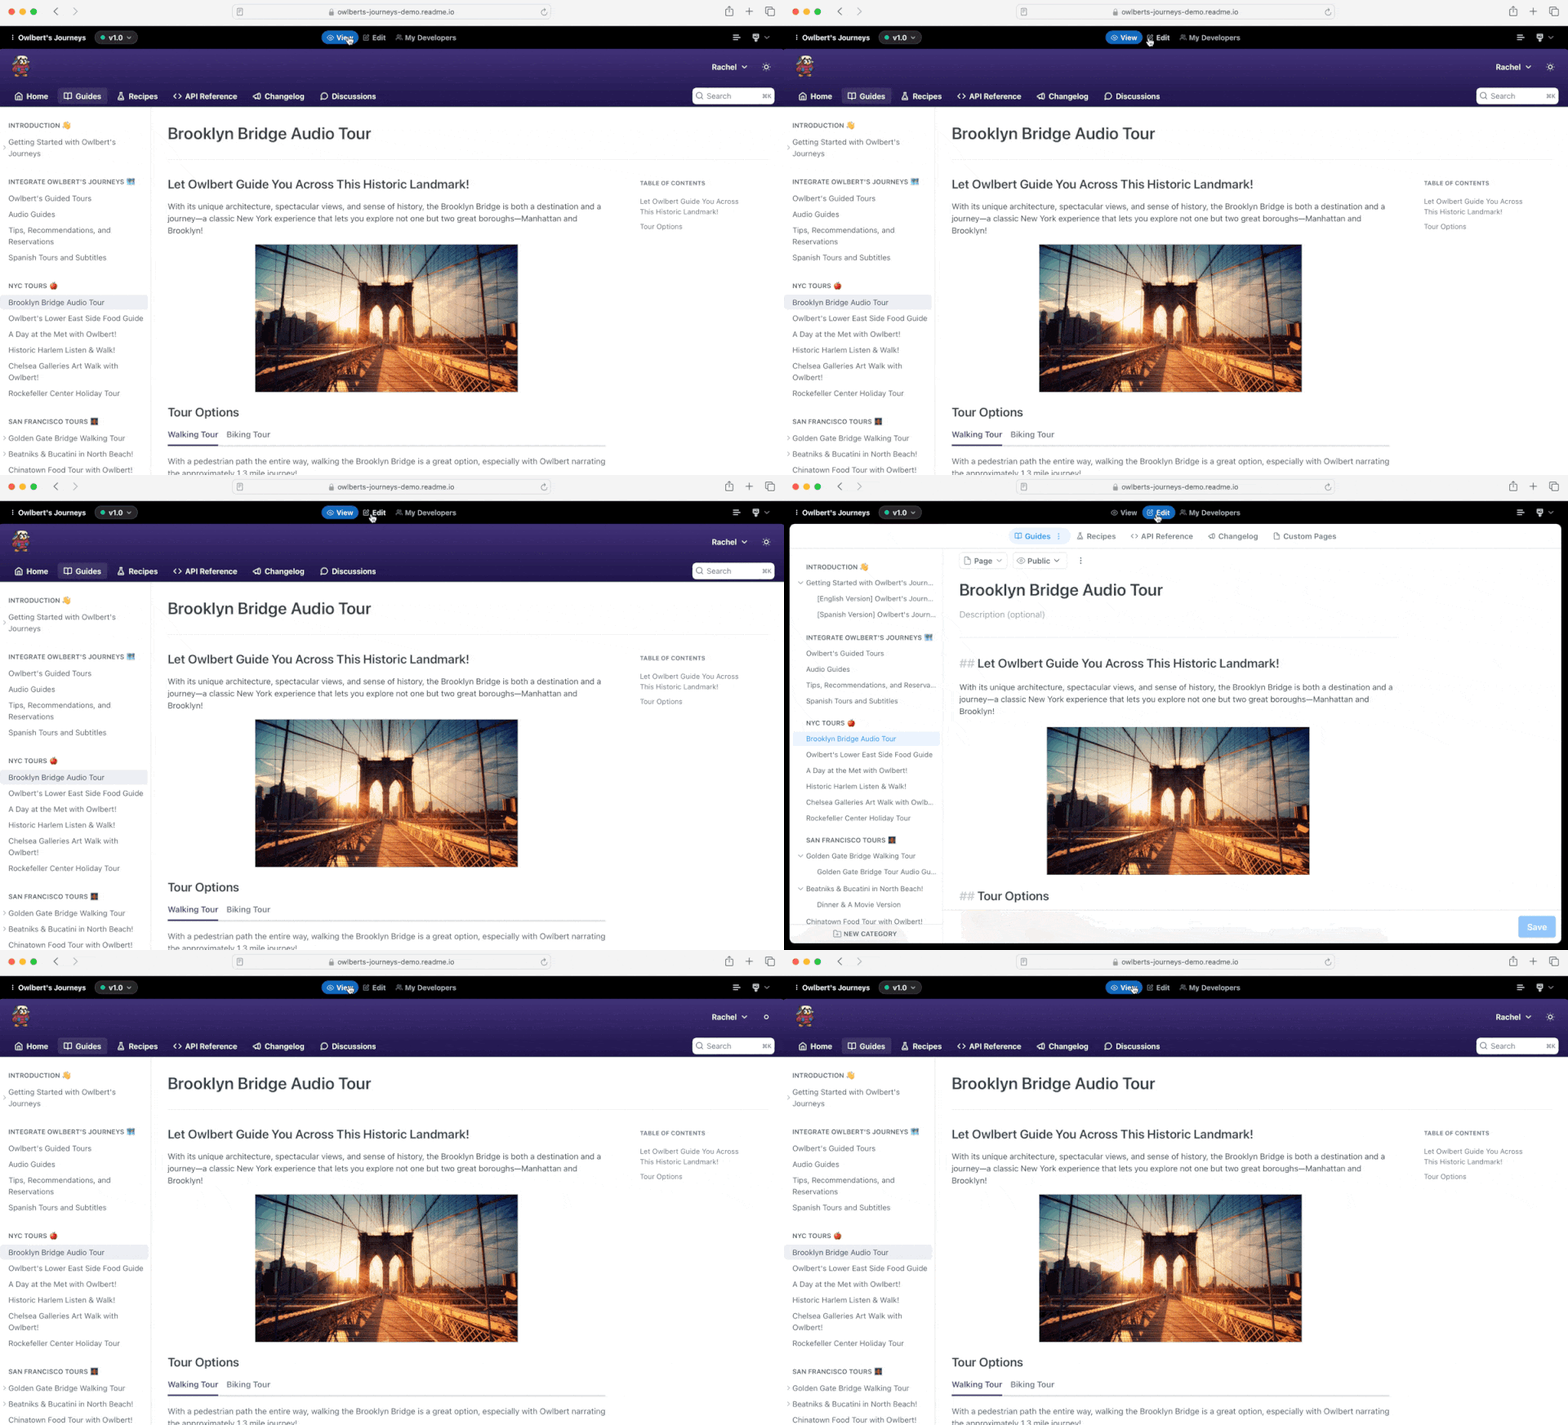
Edit Mode Basics

Accessing Edit Mode
- Navigate to any page in your documentation.
- Click the Edit button in the top navigation bar.
- The page will switch to edit mode, displaying the editing toolbar.
Editing Interface
- Rich text editing toolbar for common formatting.
- Live preview of your content.
- Page settings and metadata options.
- Save and publish controls.
Using Markdown
The Editing UI supports standard Markdown syntax for formatting:
- Headers (using #)
- Lists (using - or numbers)
- Links
- Code blocks
- Tables
- And more
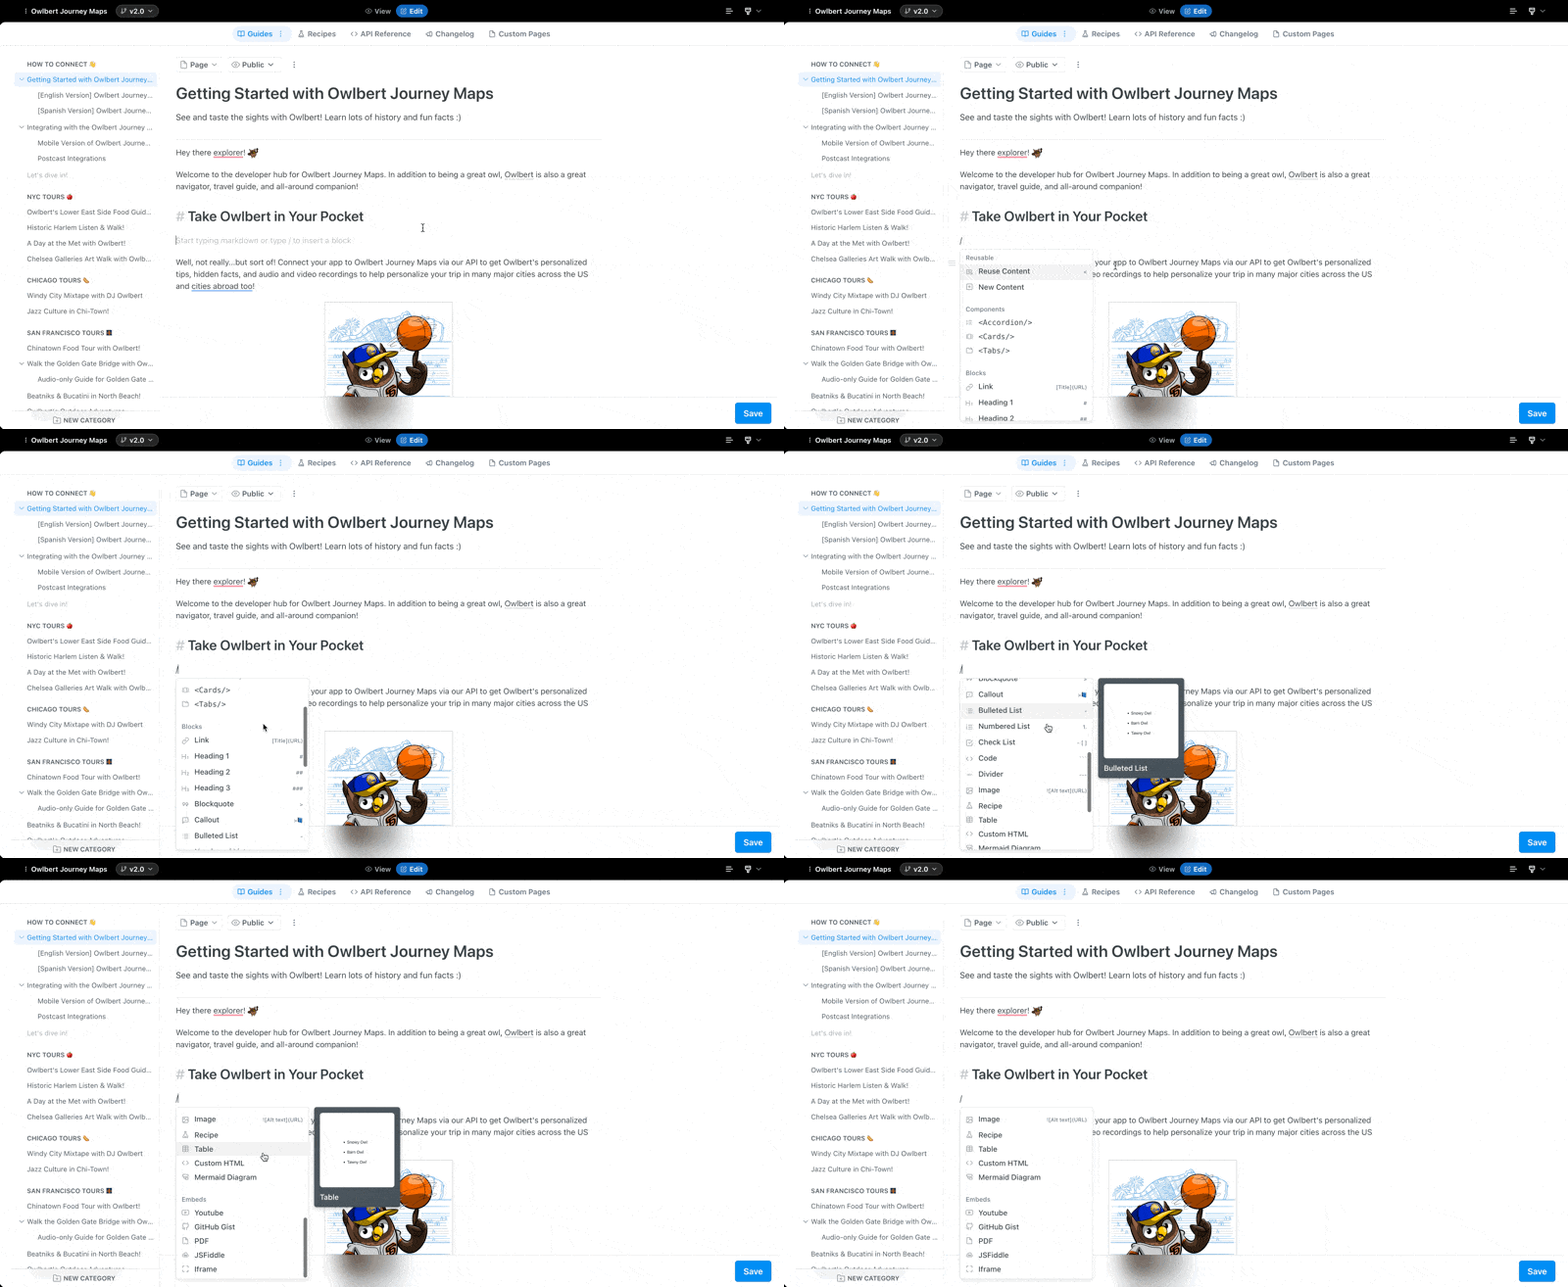
Slash Commands

Access additional elements quickly by typing / in the editor. Available commands include:
Basic Elements
/header- Add headers of different levels/code- Insert code blocks with syntax highlighting/image- Add images to your documentation/table- Create formatted tables/callout- Add highlighted information boxes/divider- Insert horizontal rules
Blocks
/link- Insert hyperlinks with optional descriptions/bulletedlist- Create unordered lists/numberedlist- Create ordered lists/checklist- Create interactive checklists/recipe- Add a recipe block for step-by-step tutorials/html- Insert custom HTML code/mermaid- Create diagrams using Mermaid syntax
Embeds
/youtube- Embed YouTube videos/gist- Include GitHub Gists/pdf- Embed PDF documents/jsfiddle- Embed JSFiddle demonstrations/iframe- Embed external web content
Publishing Workflow
Saving Changes
- Make your desired edits.
- Click the Savebutton in the bottom right.
Previewing Content
- Toggle to View mode to see how your changes look.
- Check formatting and layout.
- Verify links and interactive elements.
Publishing Updates
- All saved changes are automatically published.
- Toggle to View mode for a final check.
- Your updates are immediately available to users.
Updated 9 days ago
