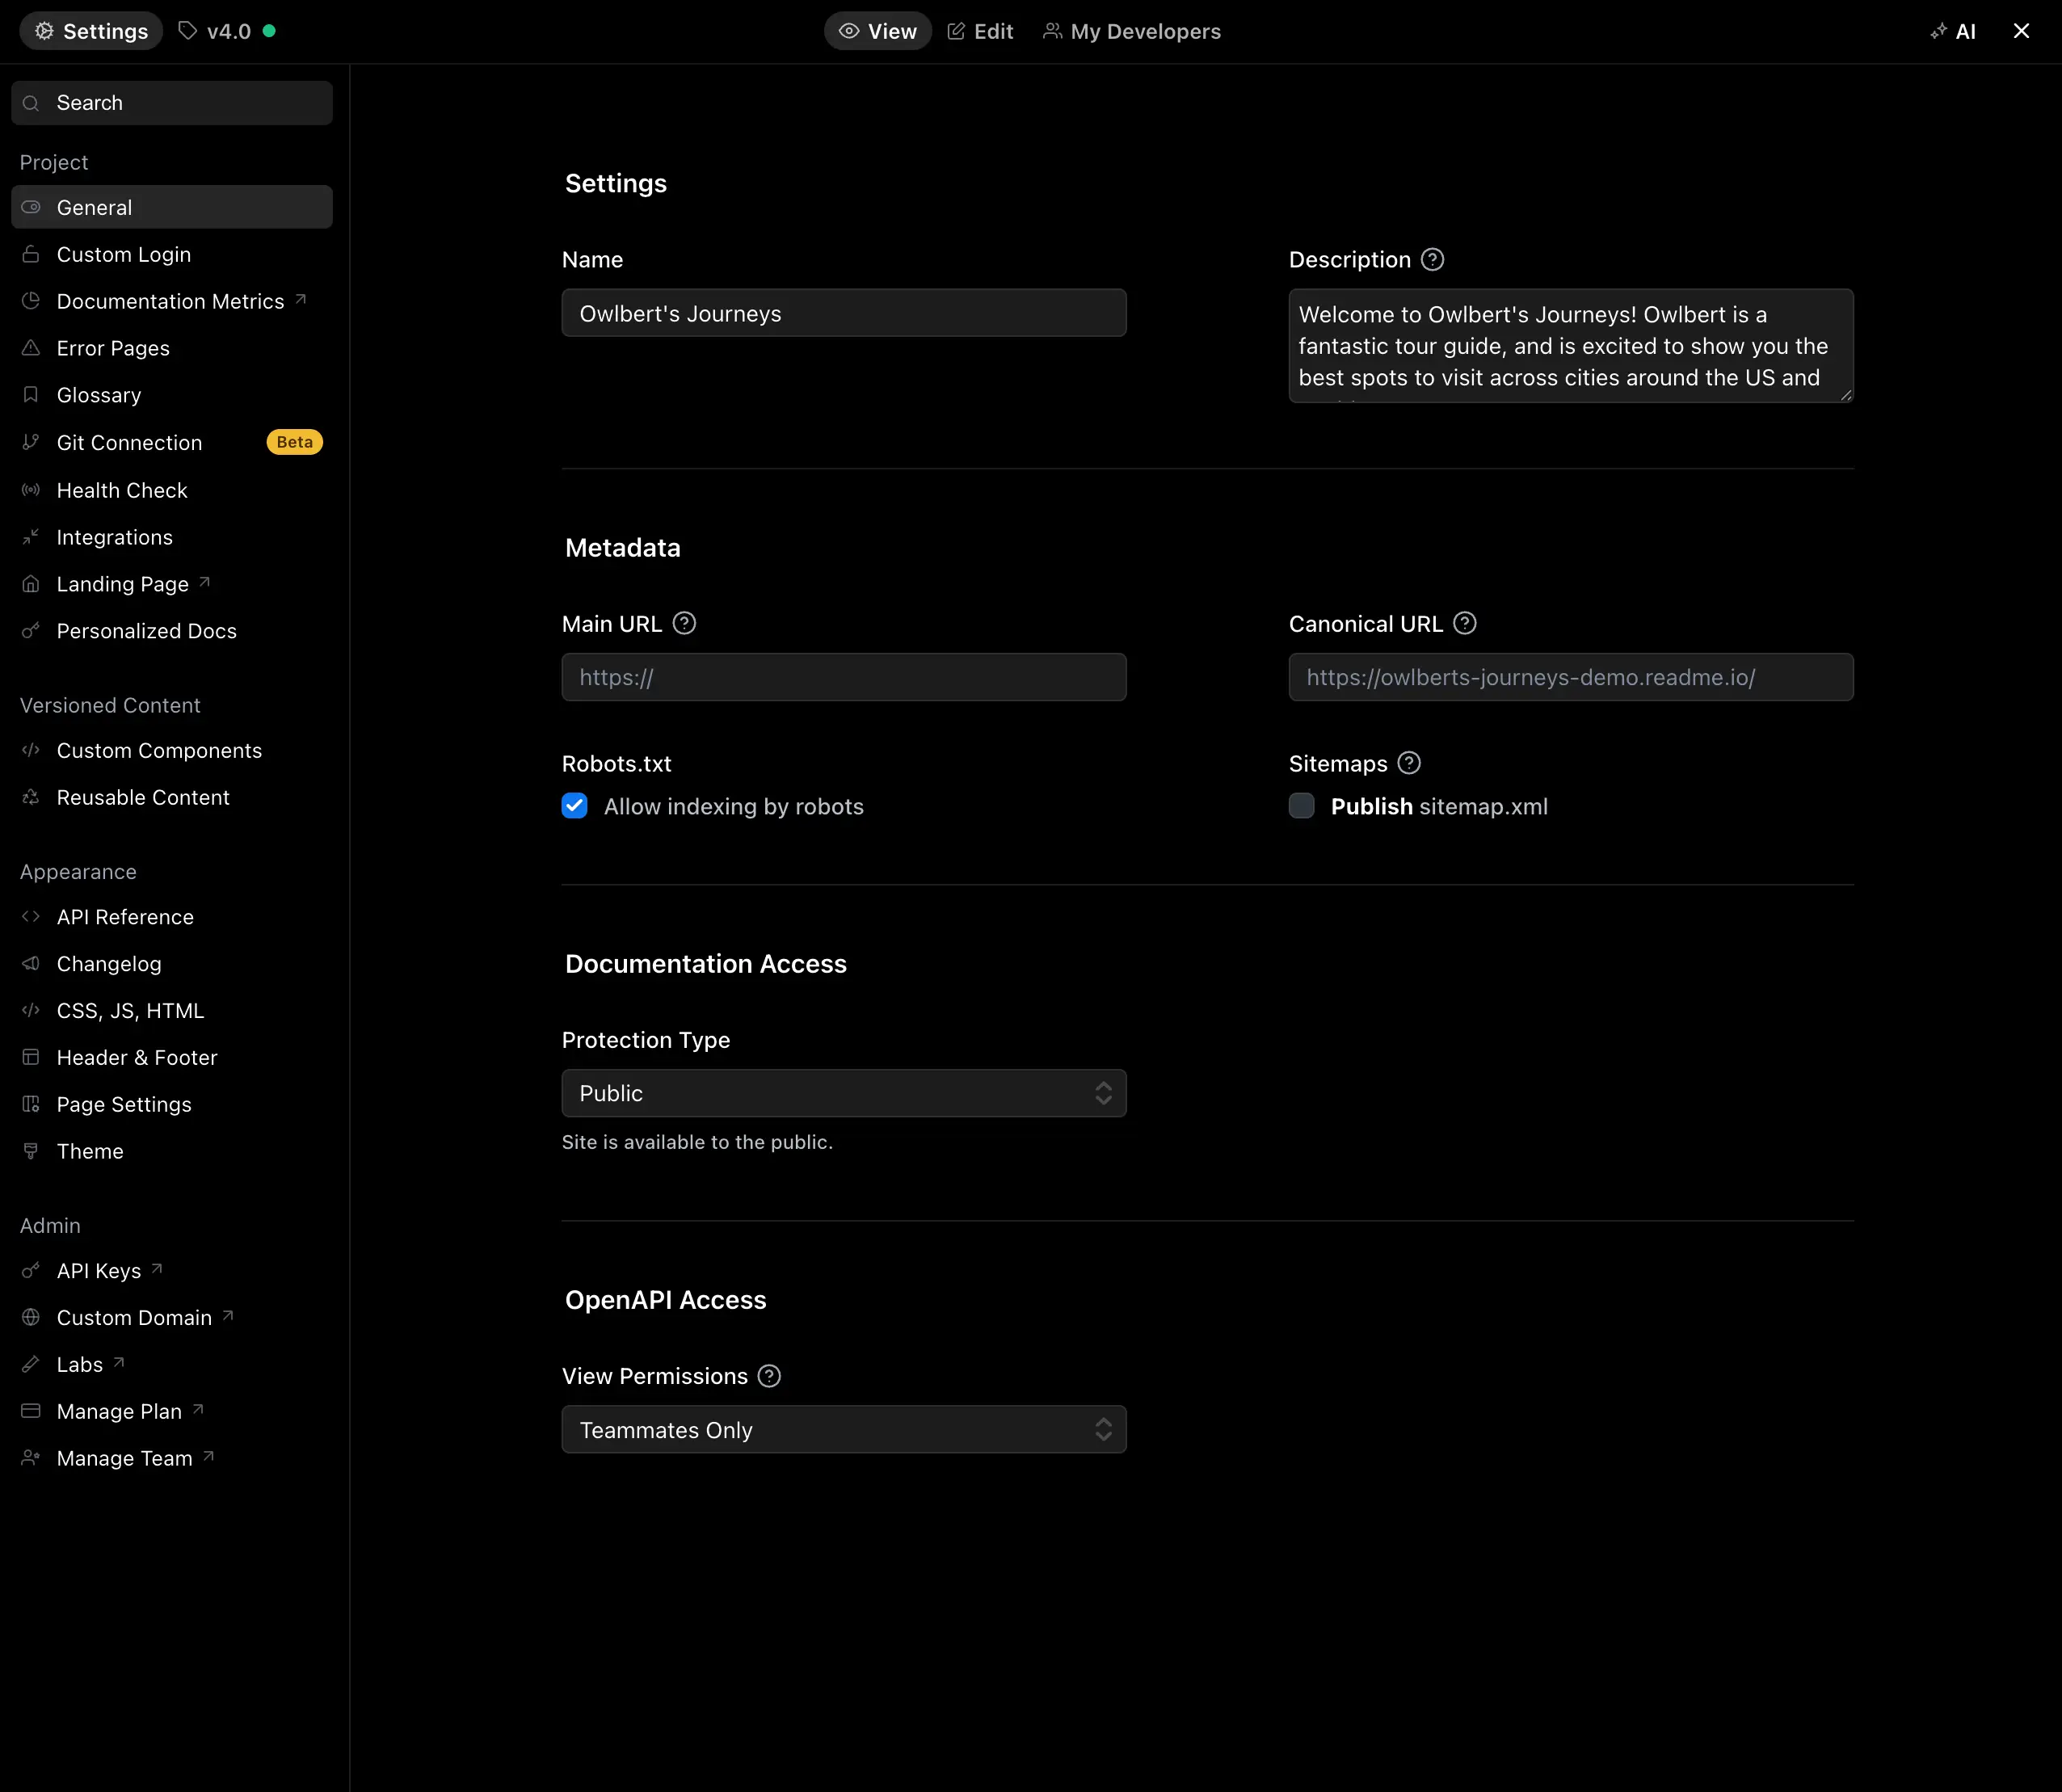
Project Settings
You can access your Project Settings in your dashboard, by going to the Configuration section, and then to Project Settings.
Project Settings
Setting | Description |
---|---|
Project Name | The name of your project as seen in your dashboard. Changing this does not impact your subdomain. |
Description | Used in the meta description, and seen by search engines and sites like Facebook. |
Main URL | The URL for your company's main website. We'll link to it in various places so people can "Go Home." |
Robots.txt | Allow or prohibit indexing by search robots. |
Suggested Edits | Enable or disable the Suggest Edits feature |
Managing Data in Markdown
Export Markdown Data
ReadMe allows you to export docs into Markdown files.
Exports are not complete.
Some information is lost during the exporting process. For example, instead of downloading images, the exported files contain URL references to images stored in ReadMe. Things such as the order of the categories and pages will also be lost within the export process.
In addition, if you try to re-import exported API Reference Markdown pages, they will be imported as Guides Markdown pages. For this scenario, you can easily move content between sections.
To export your docs, click on Configuration > Project Settings, then scroll to the bottom to Project Management and Export Docs.
Exporting a project includes all versions by default. After unzipping the export, you'll see a list of versions. You should see all categories which will contain the Markdown pages created either in your Guides or API Reference section:
To separate the versions, unzip the file and zip up versions individually.
Exporting project data includes everything except:
- API Endpoints (API Definitions file / Manual API entries)
- Custom pages
- Discussions
- Recipes
Any content in the API Definitions / API Settings will not be exported, as that is separate from the Markdown content.
Import Markdown Data
The import feature is designed as a starting point to move projects with many Markdown docs to ReadMe. This will be handy if you are just getting started and want to port your old documentation quickly. After you import, the documentation will likely need to be edited to ensure the resulting docs look as desired.
Go to Project Dashboard > Configuration > Project Settings, then scroll down to Project Management.
Import file type
Only markdown (.md) files can be imported into ReadMe. Other file formats (.html, .csv, .doc) are not supported. ReadMe has its own flavor of Markdown, but supports Github-flavored Markdown for most fields.
Avoid importing versions that already exist in ReadMe
It's important to note that if there are clashing versions between those existing in ReadMe and the versions you want to import, the versions that you want to import will be bumped up (minor bump), so they don't clash.
For example, if you're trying to import v1.0 docs, but there already exists v1.0 docs in your docs project, your project automatically creates a new version, v1.1, and imports your docs under that new version.
Expected File Format
ReadMe expects the following 4-line header in each Markdown file:
---
title: "your title"
excerpt: "brief description of page contents that show up on previews"
---
To avoid post-import cleanup in the online editor, it's a good idea to add the preceding header. If you don't include this header, then ReadMe bases the page's title on the Markdown file name.
Avoid duplicate file names
You can't publish Markdown files in a single version that have the same file name. Duplicate file names won't break the import, but you won't be able to publish any duplicated topics until you change their slugs in your project's dash. To avoid this clean-up work, make sure all your file names are unique.
Expected Directory Structure
Import works by taking in a zip file that represents your documentation. ReadMe supports the following hierarchy depth: Category > page > subpage. This means you can have pages with subpages, but those subpages can't have further subpages.
To create a category, create a directory, and populate it with pages.
To create a subpage, create a folder with the parent page name, and create a sibling file with the same name, that contains the Markdown content that you want to appear on the parent page.
The names of the directories and files are turned into the slugs and category names.
For example, if you had a zipped directory containing the following:
v2.0
├── Getting Started.md
├── Getting Started
│ ├── Introduction.md
│ ├── Best Practices.md
| └── Features.md
| Features
| └── Open Source.md
│ ├── Hub 2 Upgrade FAQ.md
│ ├── Contact Support.md
└── General
├── Dashboard.md
└── Dashboard
└── Profile.md
This becomes:
Importing Example Docs
To see how the import process works, you can use example zipped files for single version and multi version doc projects:
- Download one of the two zipped file examples from GitHub.
- Import one of the zipped files to your ReadMe project using the button under "General Settings" on your project's dash.
- In your project's dash, switch to the version(s) under which the docs were imported. Note that if your project already has a v1.0, then your imported docs appear under v1.1 (or v1.2 if you already have a v1.1)
- Drag and drop your imported topics into your desired order (by default, they appear alphabetically in the table of contents).
- Publish each topic that you've imported. (Imported topics are only visible to administrators by default).
Single Version
This is the structure if you want to import a single version into your project:
Multiple Versions
This is the structure if you want to import multiple versions:
⚠️ Note: The only difference in structure is that there is a directory that sits on top of the versions directory for importing multiple versions
️ Ignored files
File names that start with
.
or_
will not be imported.
Exporting from ReadMe and Re-importing
Disclaimer: Exporting and importing from ReadMe will get you varied results, as some information is lost within the exporting process. Things such as the order of the categories, pages will be lost within the export process. In addition reference documentation will be imported as regular documentation.
Importing Pages with JSON Blocks
The importer will attempt to parse pages with block tags as JSON. If there is a failure to parse any of the JSON blobs, the importer will exit with an error.
Change Subdomain
As the Project Admin you can change your subdomain by going to Configuration > Project Settings and scrolling down to the bottom until you see this button:
A pop-up window starring our friendly mascot, Owlbert, will appear. Type in your subdomain then hit Change Subdomain. As long as it's not already taken you're good to go!
If your requested subdomain is taken, you'll get an error message. Please email [email protected] to check if it is an active account, or if we can free up the subdomain for you.
Preview Project
Previewing your project is easy! Clicking on the project name underneath the ReadMe logo in your project dashboard should take you to a preview of your site.
If you are still in trial mode, you need to login as a Project Admin in order to view it.
Clone Project
As the Project Owner of a project, you can quickly and easily copy projects to use as templates or staging instances.
Go to Project Dashboard > Manage Project > Clone Project:
Once you click on the Clone Project button, simply give it a new name and clone it. Everything should be copied over and you can start editing the newly cloned project!
Project members do not copy to the clone
The Project Owner will be the only member of the clone. You will need to re-invite any other Project Admins that you would like to collaborate with.
Updated 12 months ago