
Custom Domain & SSL
Custom Domain
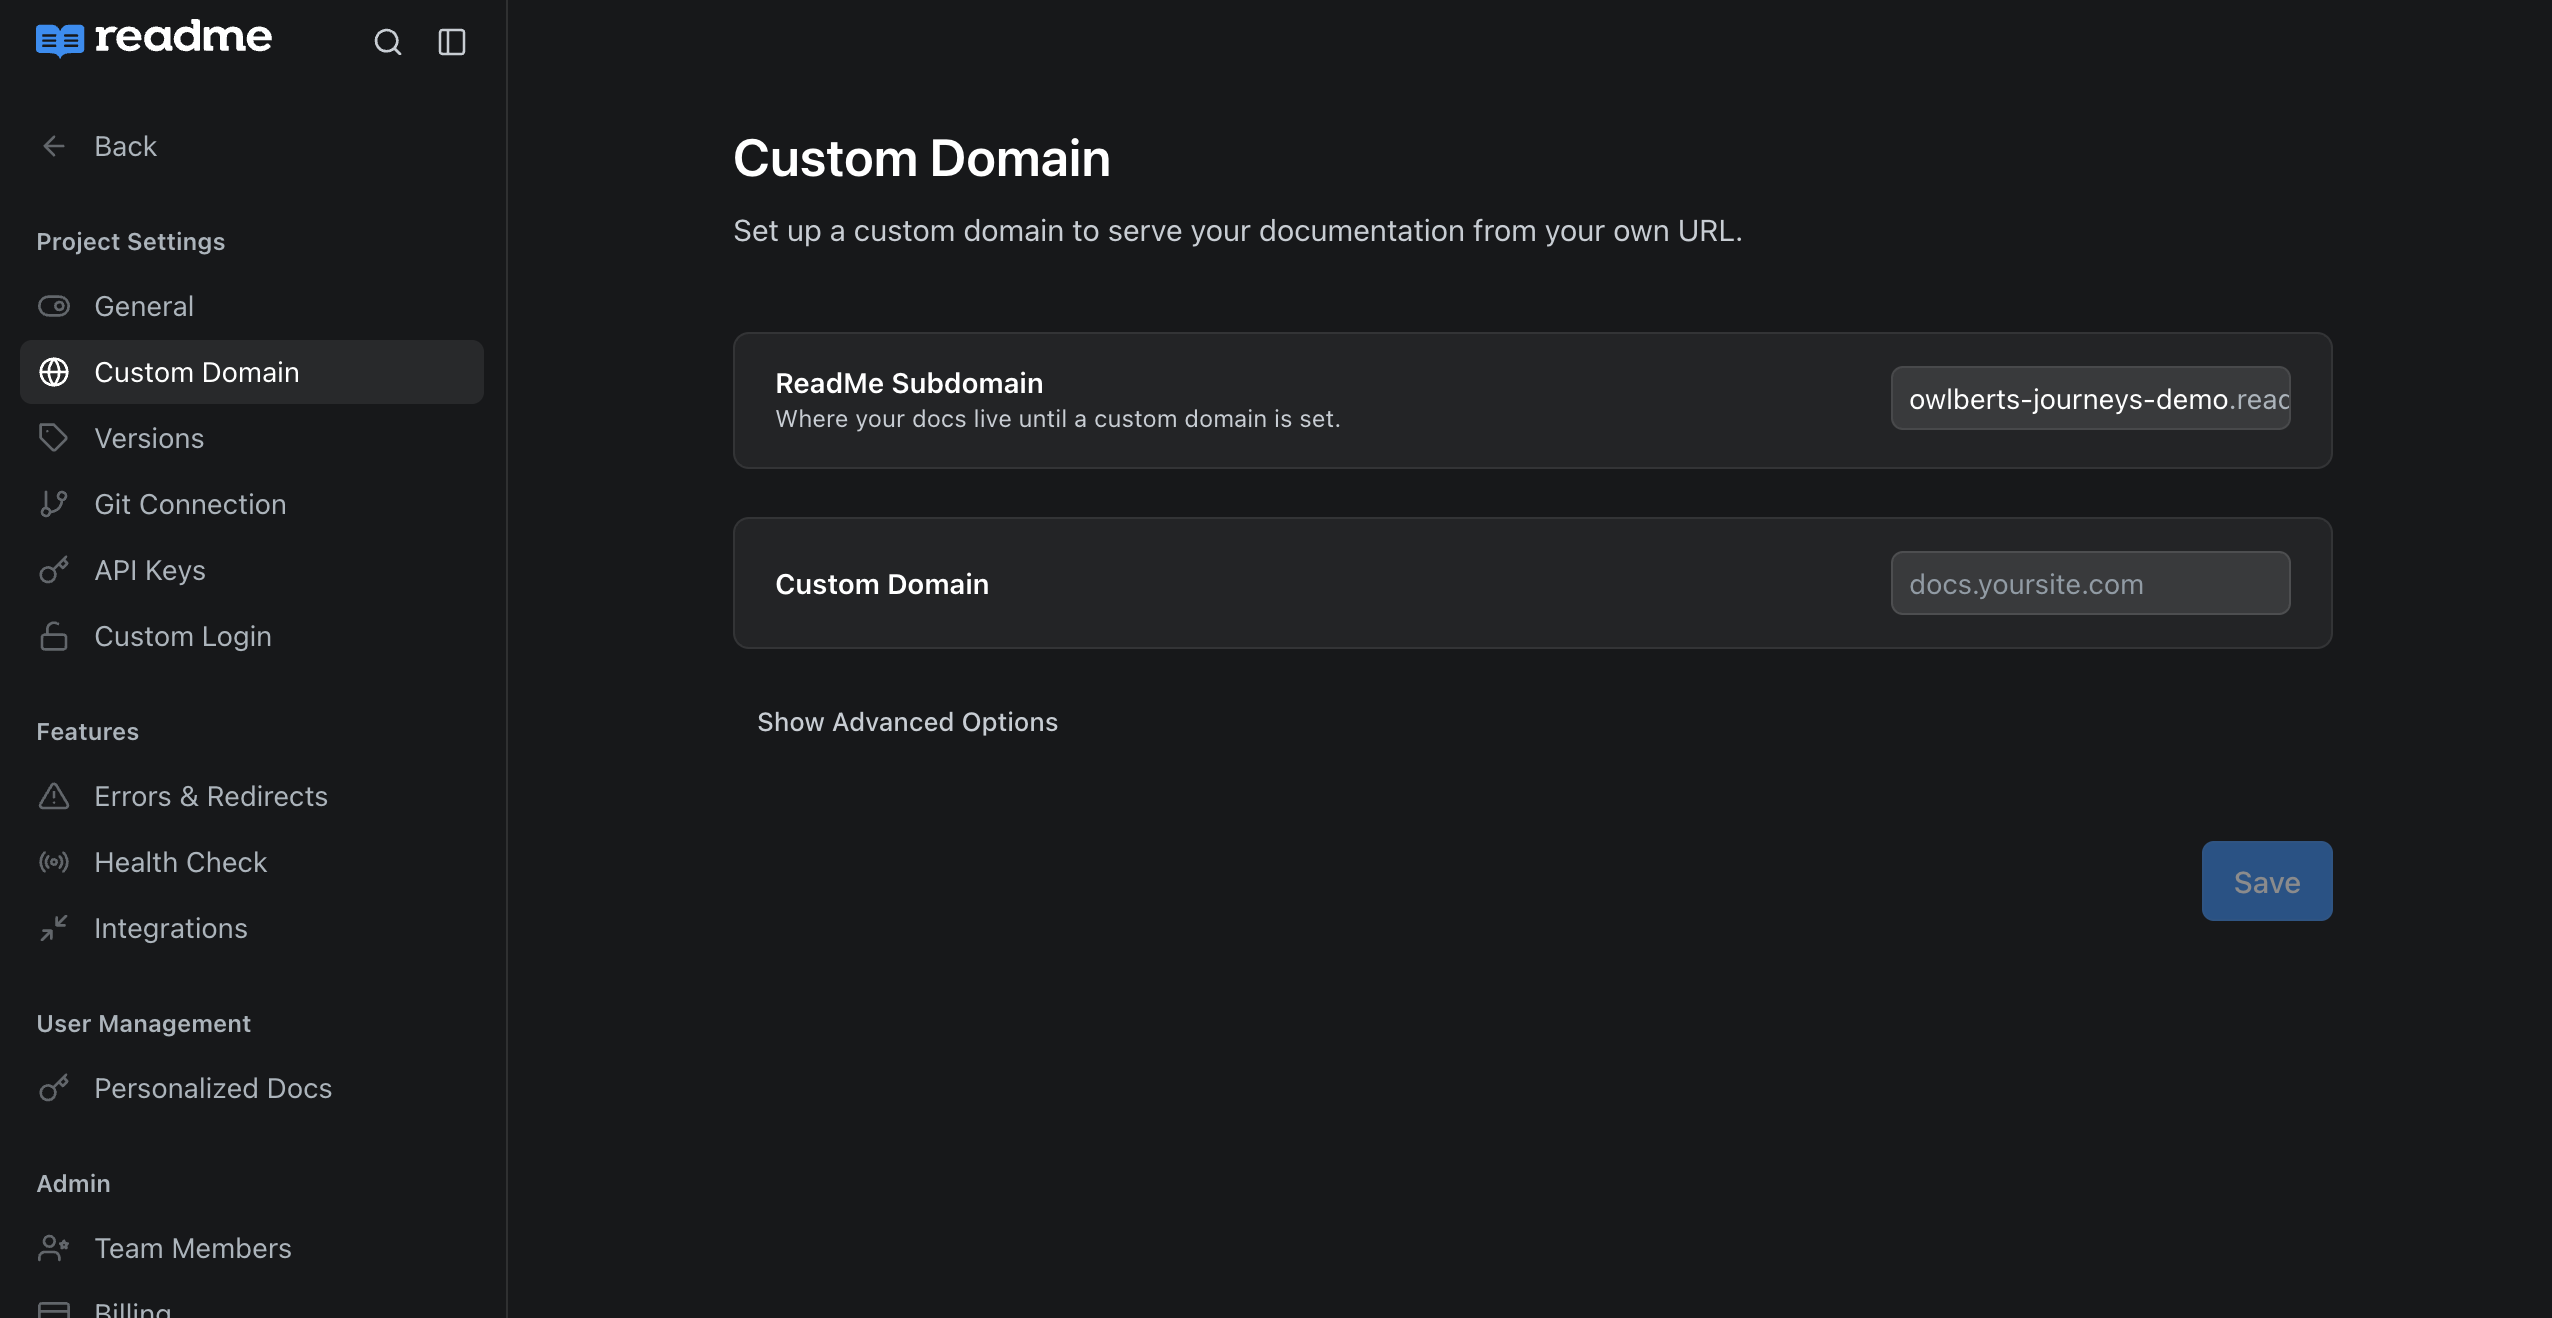
Hosting docs on your company domain is an important part of making your docs polished and professional. You can setup a custom domain from Configuration > Custom Domain.
For most configurations, you’ll need to set up a CNAME record for your desired subdomain pointing to the target subdomain-hash.readmessl.com. Refer to your DNS hosting provider’s documentation for information on how to add a CNAME in your domain's settings. For example, if your DNS is hosted by GoDaddy, then refer to its "Add a CNAME Record" article.
Hostname validation and proxies
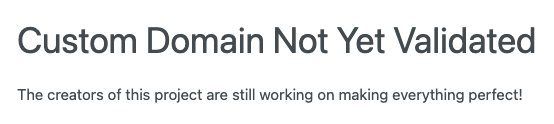
Most of the time, hostname validation will be instantaneous and there won't be any more steps necessary to get your custom domain up and running. However, if you are hosting your domain behind a proxy (nginx, Fastly, Cloudflare reverse proxy), you may find that validation has failed:
In order to validate, you'll need to write TXT records on your hosting provider with the following format:
TXT name: _readme.subdomain.example.com
TXT value: subdomain-hash.readmessl.com
Once DNS sees these values, try and reload your site and you should be up and running! If not, please contact [email protected] and we'll help out!
Apex Domains vs. Subdomains
We recommend using a subdomain (e.g.,
docs.example.com) for your docs as opposed to apex domains (e.g.,example.com).Apex domain configuration varies depending on your DNS hosting provider and can lead to unexpected results.
The base URL for your ReadMe project can be set to a subdomain (e.g., docs.example.com) or an apex domain (e.g., example.com), but cannot be set to a path (e.g., example.com/docs).
If you want to use an apex domain as your custom domain, your DNS host must support alias records for the top-level domain. The top level domain will need to be configured as an alias pointing to the target listed on this configuration page. Refer to your DNS hosting provider's documentation for instructions on how to set up an alias.
SSL
Upon saving your Custom Domain in ReadMe, if you’ve correctly configured a DNS record in your registrar, we will attempt to generate an SSL certificate on your behalf! ReadMe uses Cloudflare to provision and manage the certificates for custom domains.
Using Cloudflare for your DNS Setup?Cloudflare does not currently support "Orange-to-Orange" network traffic (multiple proxies managed by Cloudflare). If you are currently using a Cloudflare proxy, you must disable the proxy in your settings.
Using NGINX as a Custom Proxy
If you have an existing proxy in place for your domain and you would prefer to forward traffic to the target instead of creating a traditional DNS record, there are a couple steps you'll need to complete for proper configuration.
Creating an SSL Certificate for Your Domain
Before making full use of your proxy with ReadMe, you will need to generate a certificate through our system traditionally. This means you will need to complete the above steps (Custom Hostname, SSL). Once your certificate has been created, you can change your DNS record to point to your proxy location and proceed.
Certificate StatusYou can check the status of your certificate by navigating directly to your custom domain. If you can access your ReadMe's documentation via your custom domain, and there is a lock in the URL bar, you're good to go!
In the future, we plan on adding direct verification via the
Custom Domainpage!
Configuring NGINX Routing
Cloudflare relies on Server Name Indication (SNI) to authorize use of its proxy and certificates. Without passing the correct information, you may receive a 403 - Forbidden error on navigating to your domain. Depending on your version, NGINX supports SNI. You will, however, need to explicitly declare two new variables in your configuration: proxy_ssl_server_name and proxy_ssl_name. In tandem, these act as an SNI declaration.
Here's a configuration you can use for NGINX using these settings:
http {
  server {
    listen 443 ssl;
    server_name example.com;

    location / {
      proxy_pass https://ssl.readmessl.com;
      proxy_ssl_server_name on;
      proxy_ssl_name example.com;
      proxy_set_header Host example.com;
    }
  }
}