
Settings
Access settings to manage and configure your docs.
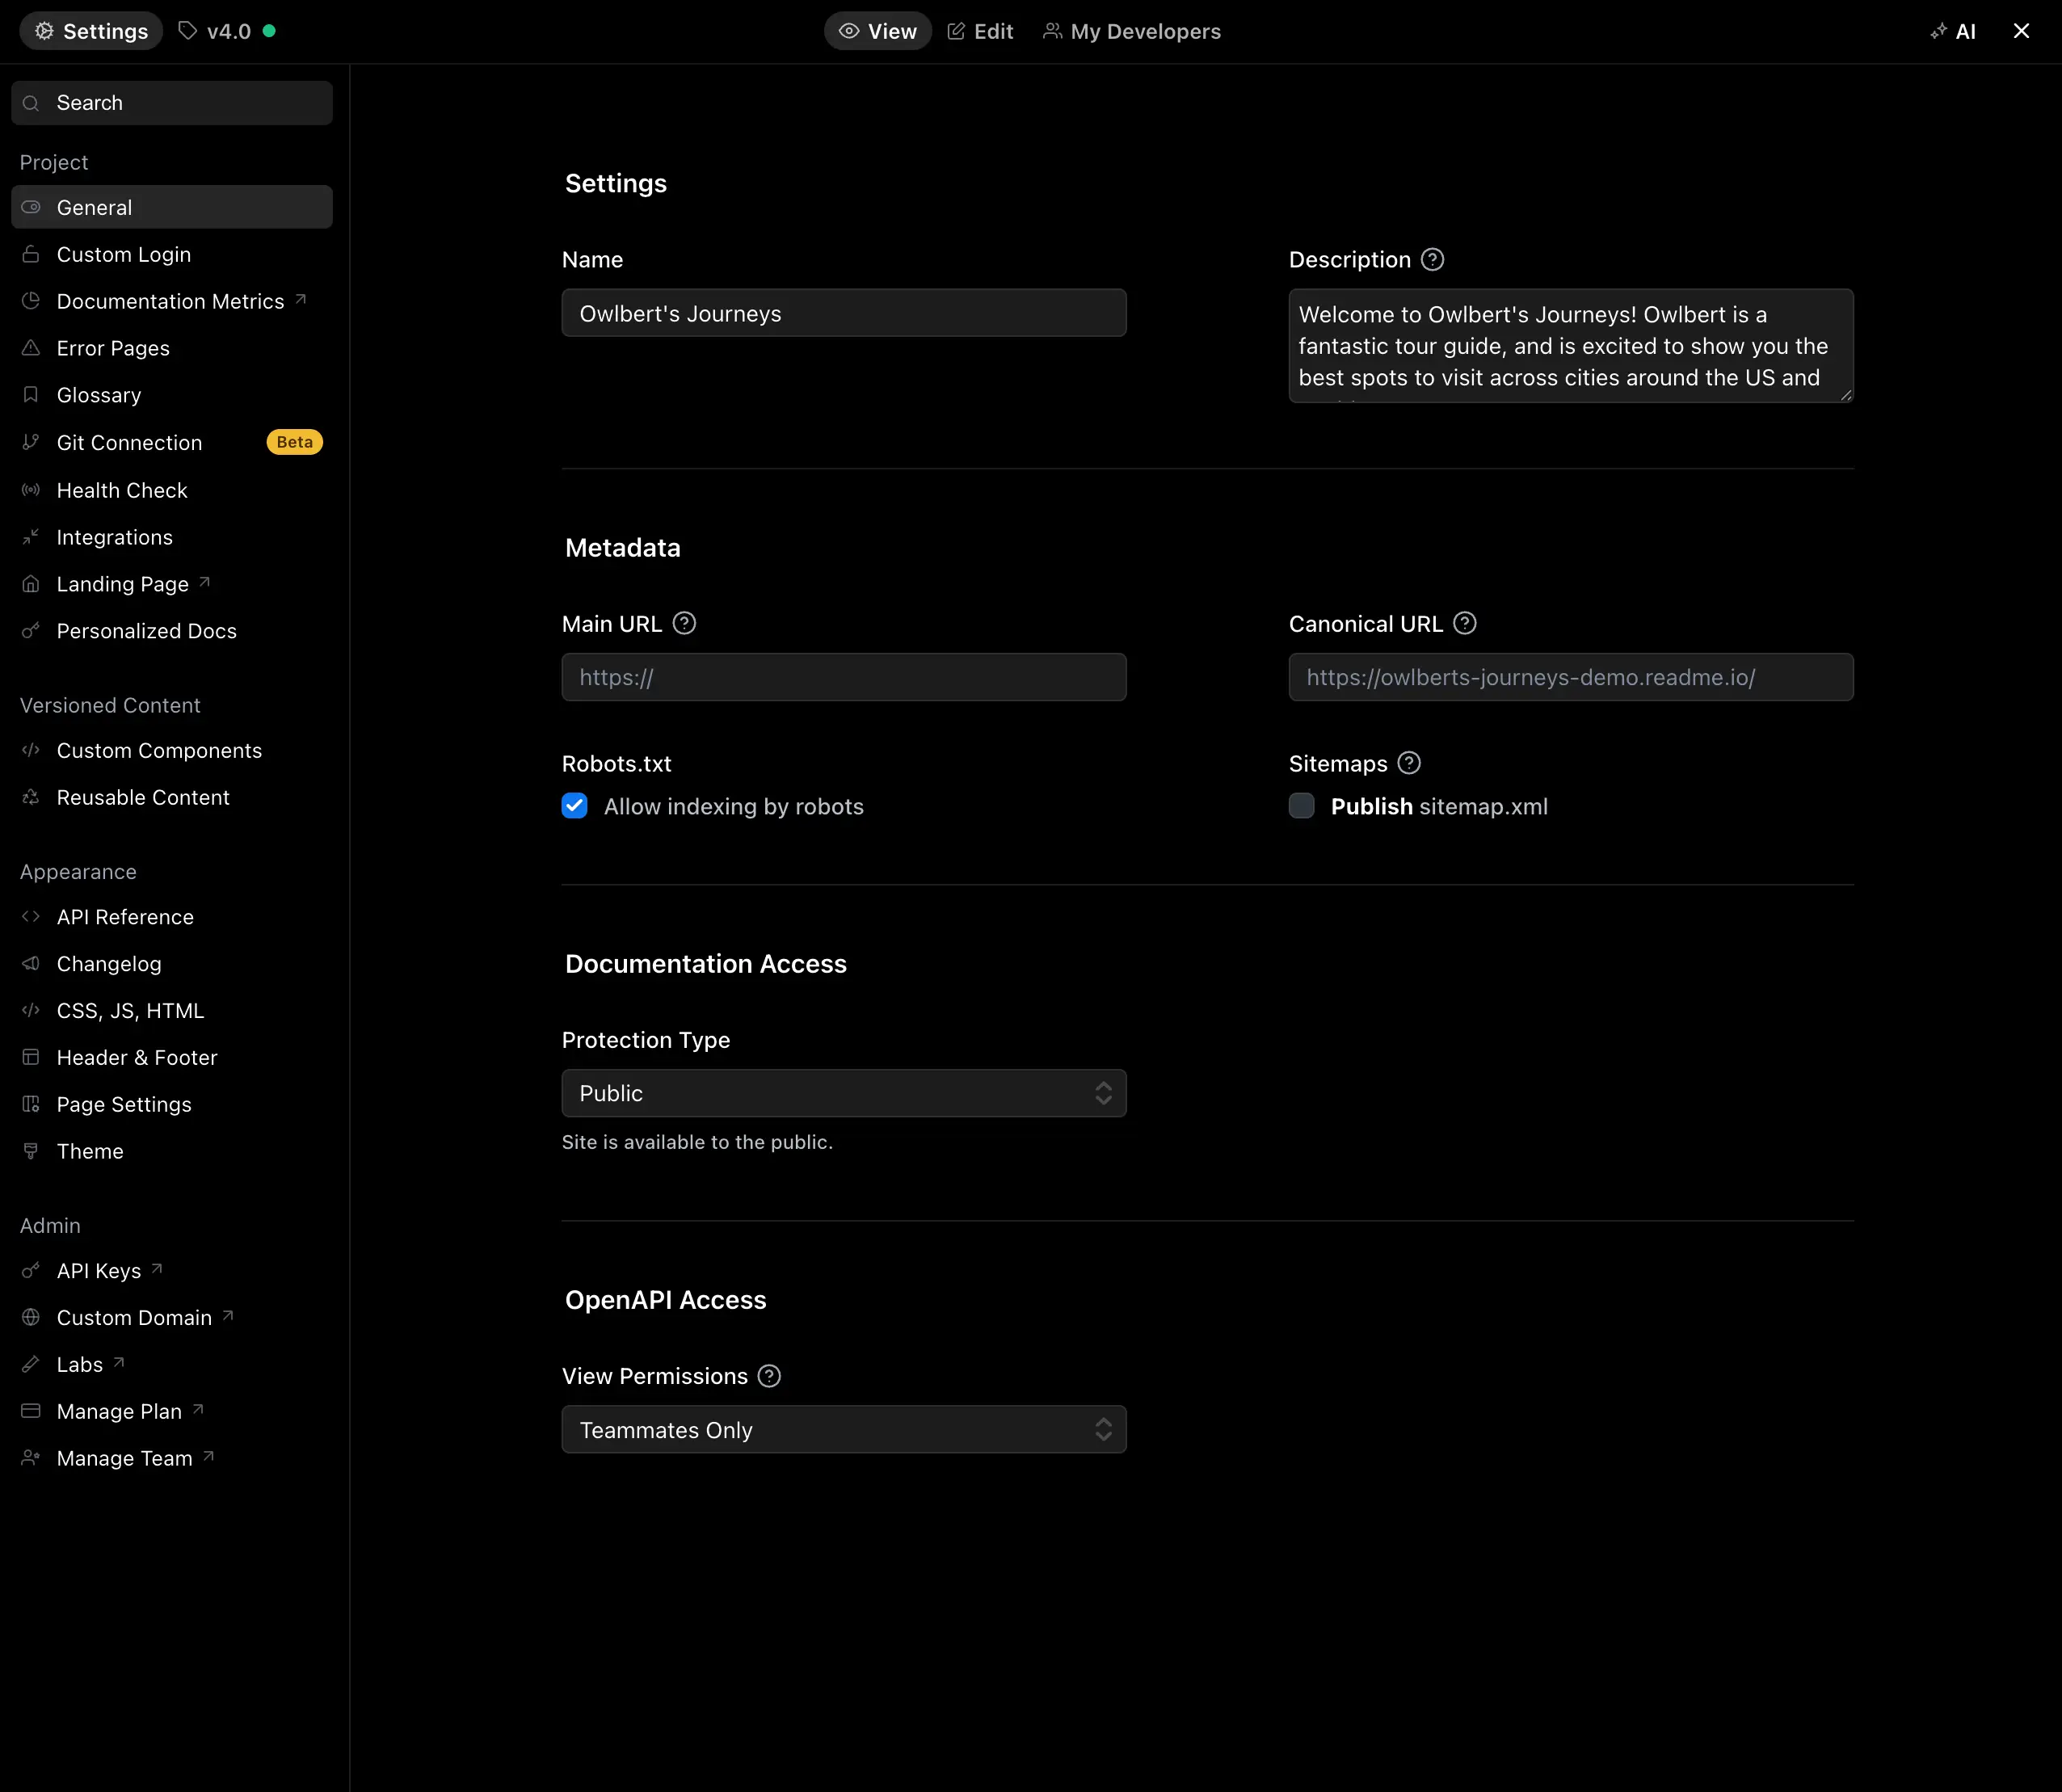
General
In the General settings, you can change settings related to SEO, if your docs are live, and if users should have access to your OAS file.
SEO
Settings that affect how search providers interact with your docs.
| Name | Description |
|---|---|
| Project Name | The name of your project as seen in your dashboard. Changing this does not impact your subdomain. |
| Main URL | The URL for your company’s main website (typically your_company.com). |
| Description | Used in the meta description, and seen by search engines and sites like Facebook. |
| Robots.txt | Allow or prohibit indexing by search robots. |
Change Subdomain
Owners an Amins can change the subdomain by going to the Legacy Dashboard > Configuration > Project Settings.
The Legacy Dashboard can be accessed from the gear/cog icon when hovering over your project at dash.readme.com.
If you would like to claim a subdomain that is taken, reach out to [email protected].
Updated last month
Did this page help you?